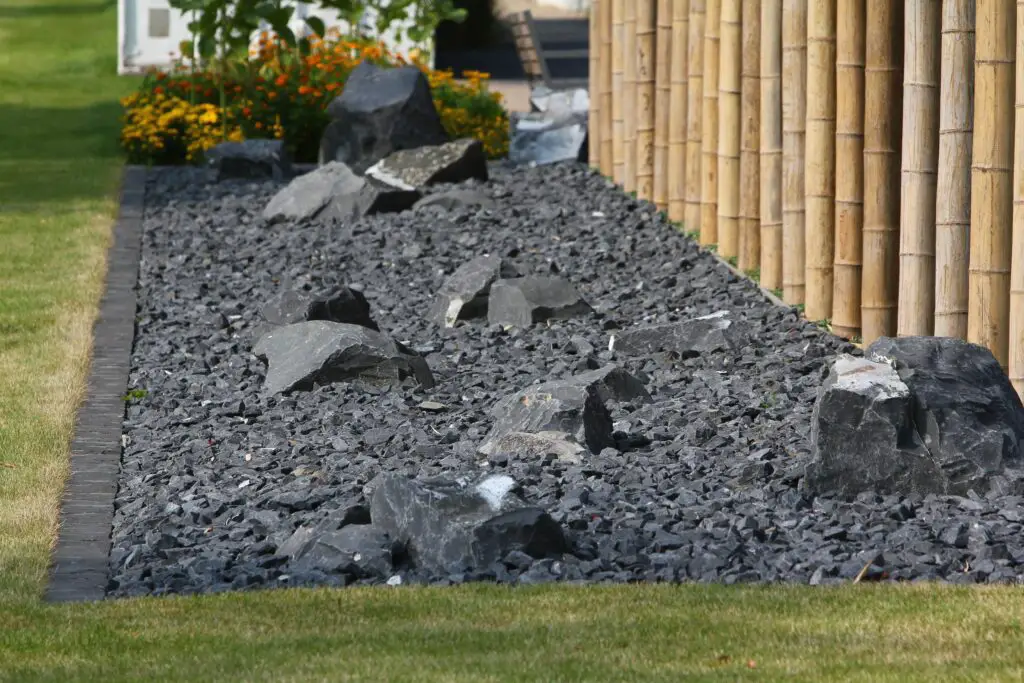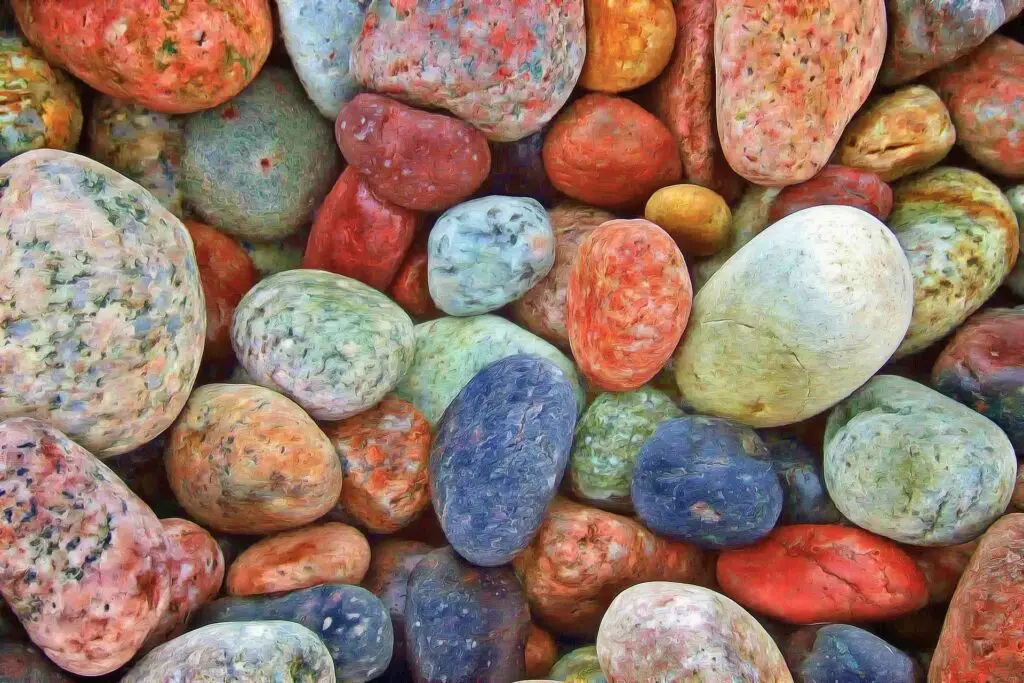
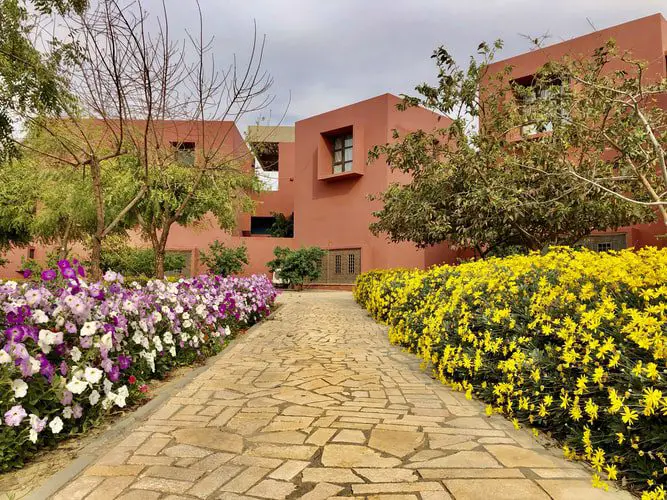
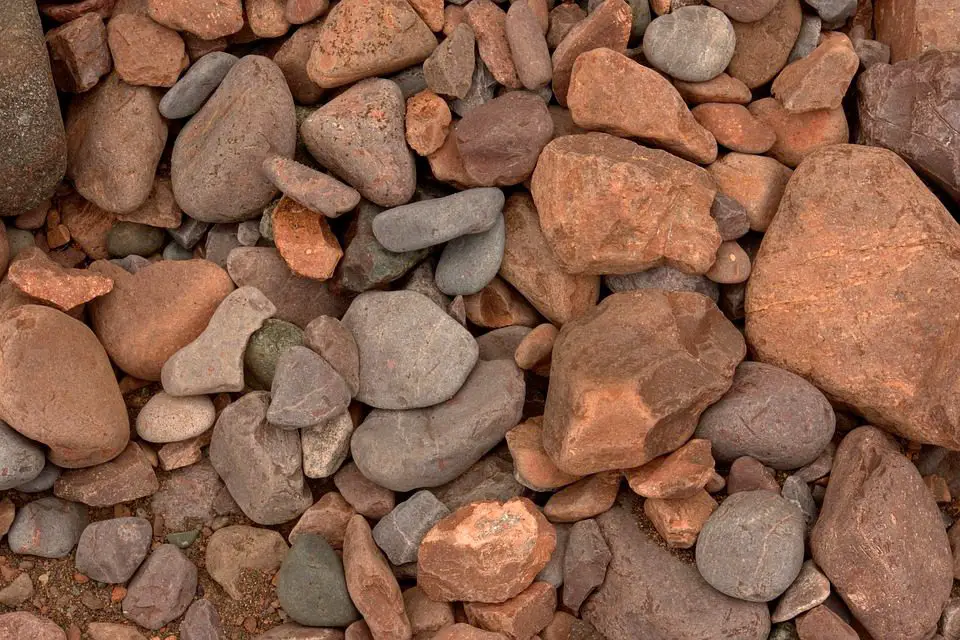
Rocks and stones in the landscape offer stunning color, texture, and diversity. Plus, they function as an enduring groundcover that needs little to no upkeep.
Landscape rocks are attractive for a variety of reasons, one of which is their natural appearance. They instantly make a drab view look a bit more interesting and natural. Rocks are nature’s own artistic sculptures which come in so many different shapes and sizes that you can easily find some to fit with your landscape plan
These hard elements may blend in beautifully with the plant life in your space, or offset it with striking contrast, bringing movement and texture to your yard.
How to Choose the Best Landscaping Rocks
You have so many choices! Landscaping rocks and stones come in different sizes, colors, and textures. So, before you make your choices, get to know the most common stones you can use to improve your landscape.
Keep in mind that rocks are so very common throughout the world and have so many variations, that it is not uncommon for the same type of rock to go by several different names depending on where you are. My advice to any homeowner would be to actually visit a few rock yards and see the rock up close. Don’t just assume that you and the rock supplier have the same rock in mind just because you are using the same term.
We will show you a bunch of different rocks in this article with a bunch of different names, but realize that there is no rock police going around making sure people call rocks by their proper names. Wholesalers and retail suppliers might just call a rock anything that they think will sell more rock.
You also need to be aware of forms versus names, versus types of rock. It gets a bit confusing, and is not always clear which is which.
- Forms – Many rocks are labelled by their form such as slab, flag, gravel, washed, outcropping, boulder, pebble, crushed, fractured, chunk, etc.
- Names – Many rocks are named for where they came from or what they look like. Names like Wisconsin Fieldstone, Colorado Mountain Boulders, Black Beauty Stone, Black Mountain Stone, River Rock, etc.
- Types – Stone and rock is technically separated by specific types, but that doesn’t mean that they are selling it by type.
- Metamorphic Rock – These are made of rock that has been changed by heat and pressure. Schist and Marble are common metamorphic rocks.
- Sedimentary Rock – These rocks are formed when sediment settles out of water or air. Sandstone and Limestone are common sedimentary rocks.
- Igneous Rock – These form when molten rock cools. Granite and Basalt are two common igneous rocks used in landscaping.
A Bunch of Examples
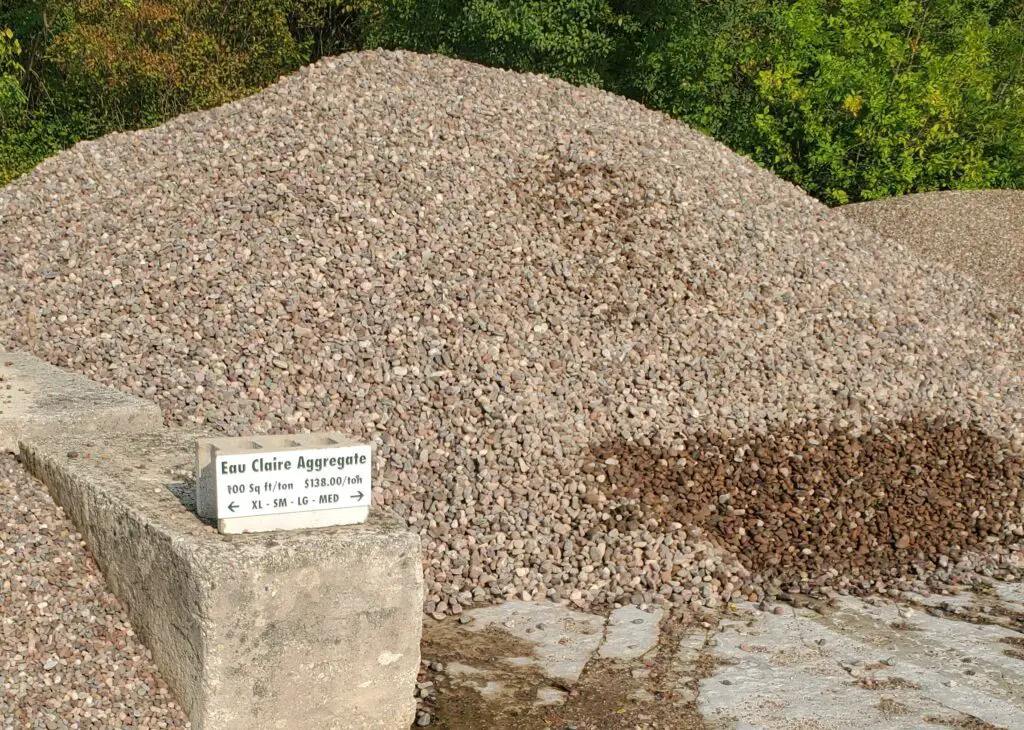
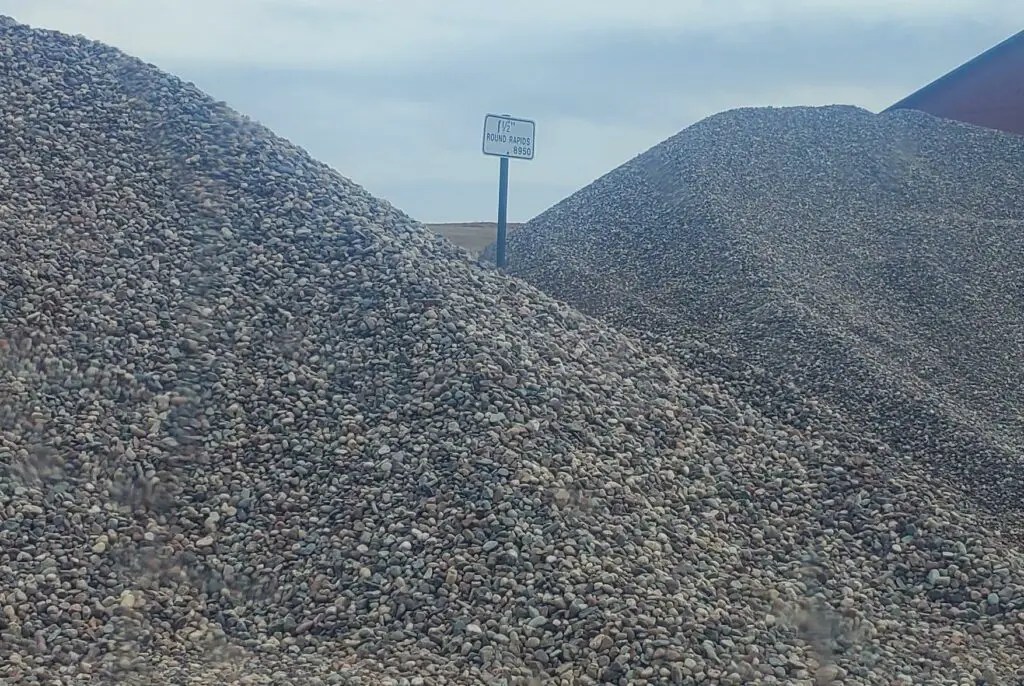
Pea Gravel
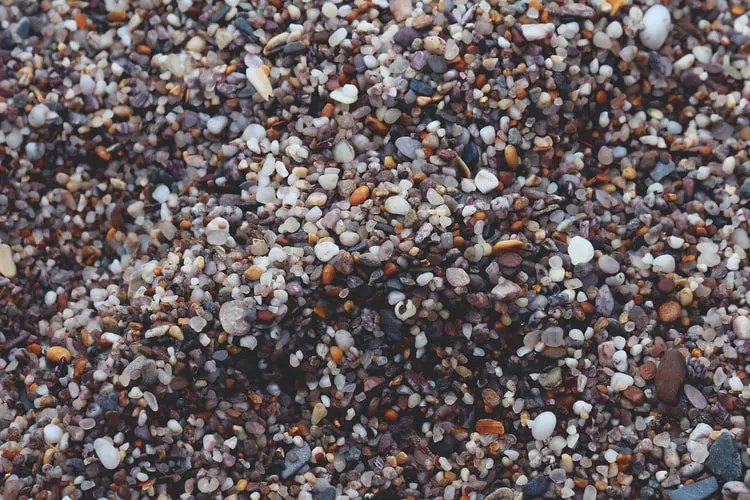
Pea gravel is made up of pea-sized stones that have been polished and eroded over time by the continual flow of water. These stones are can be used for various applications, including pathways, driveways, patios, flower beds, and garden borders. This is a type of washed stone, so they contain no fines. This and their smooth surface means that they will not compact and bind together, so if you are considering using them in a driveway or patio, you need to understand that they will move around.
Pea gravel is available in many earthy tones, and you can find them along streams and other naturally occurring sources of water.
The stones’ smooth texture makes them ideal for walking paths if you don’t mind the soft feel underfoot. Pea gravel will never be fun to walk in while wearing heels, so only use it in casual garden paths.
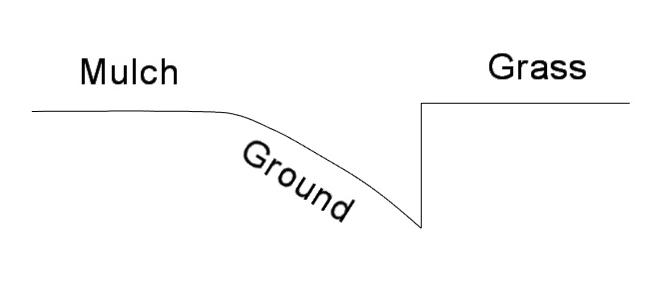
It also works as an excellent stone mulch because it controls weeds and does not disintegrate like organic mulch. However, on warm days, your plants surrounded by rock mulch can get too hot, causing them to lose water.
The best thing about pea gravel is its cost-effectiveness. This is one of the cheaper decorative stones to purchase.
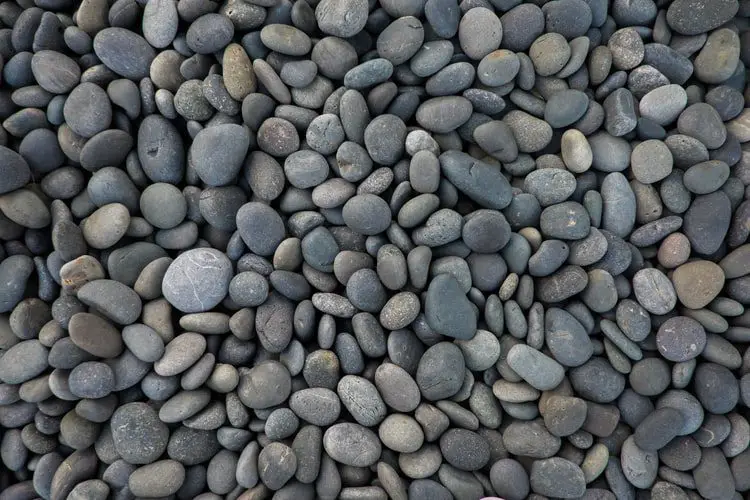
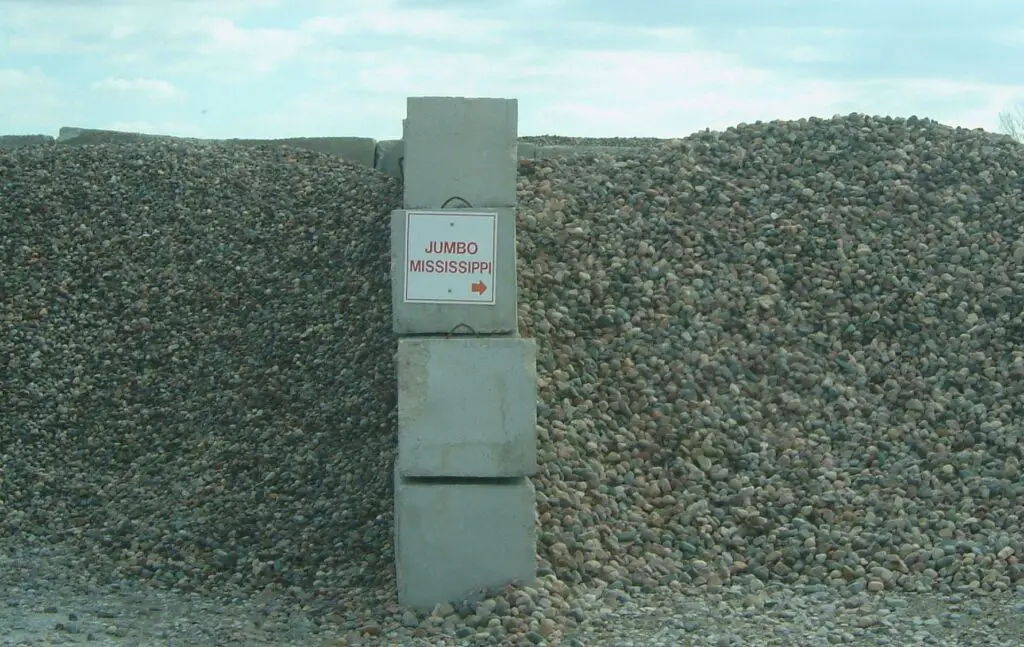
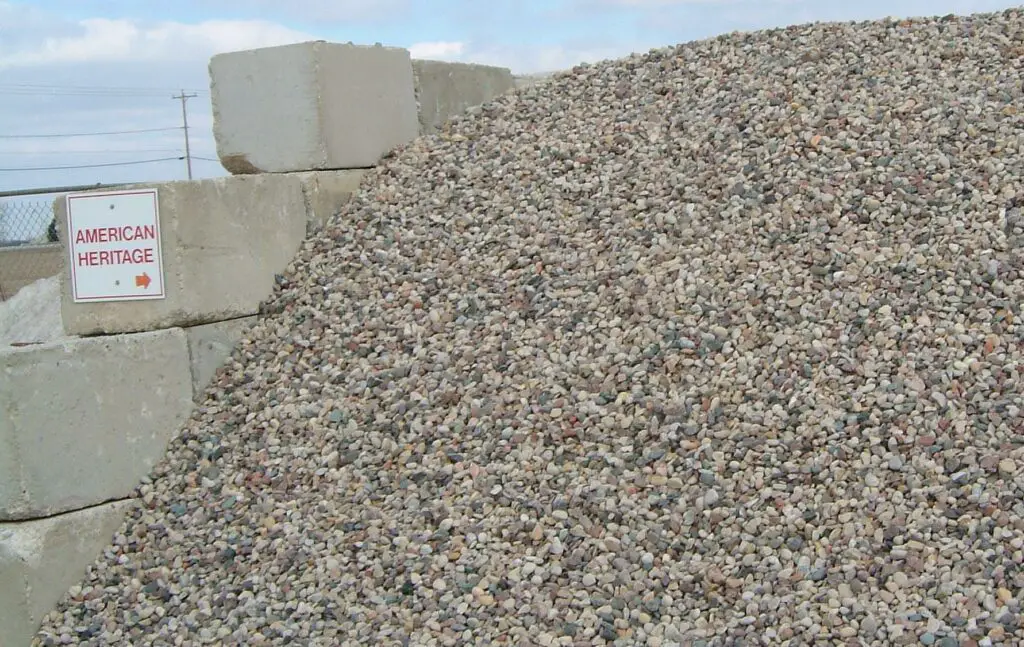
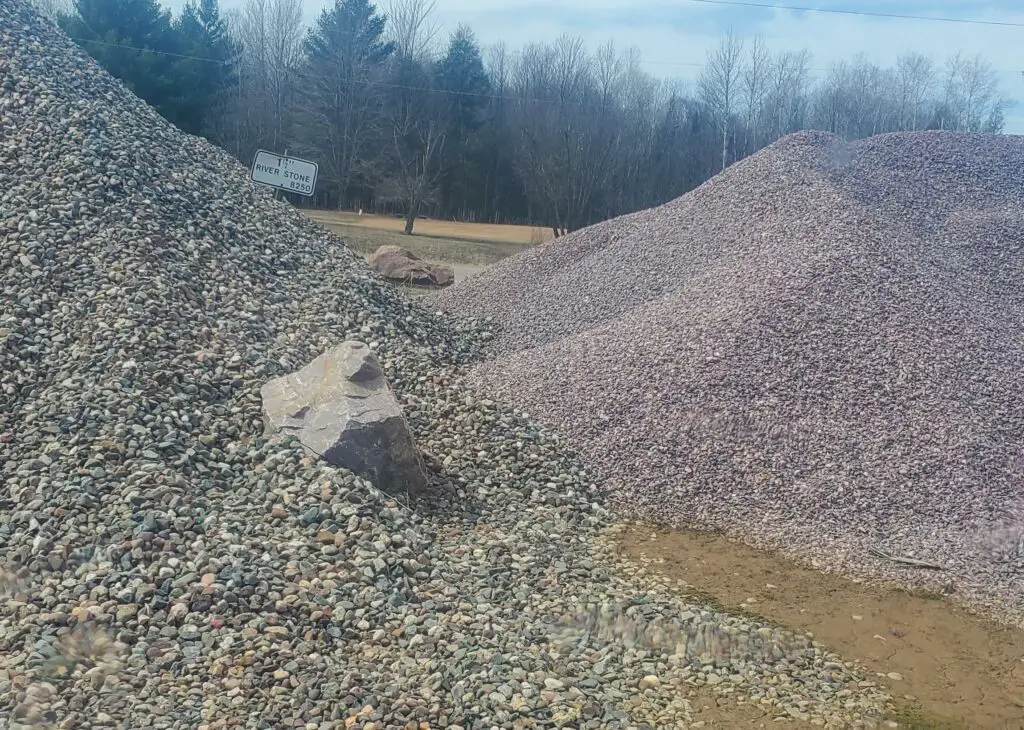
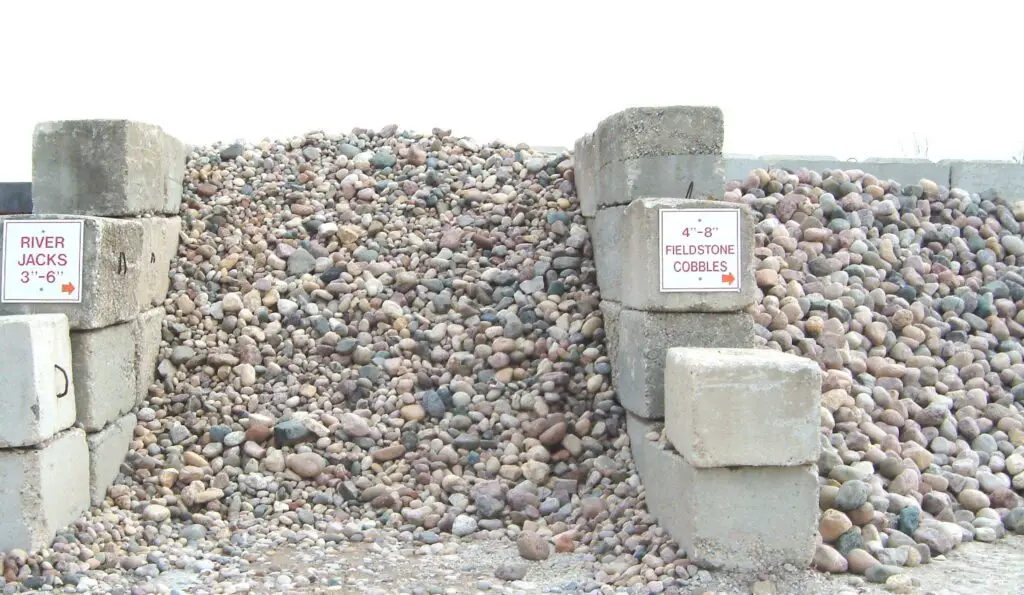
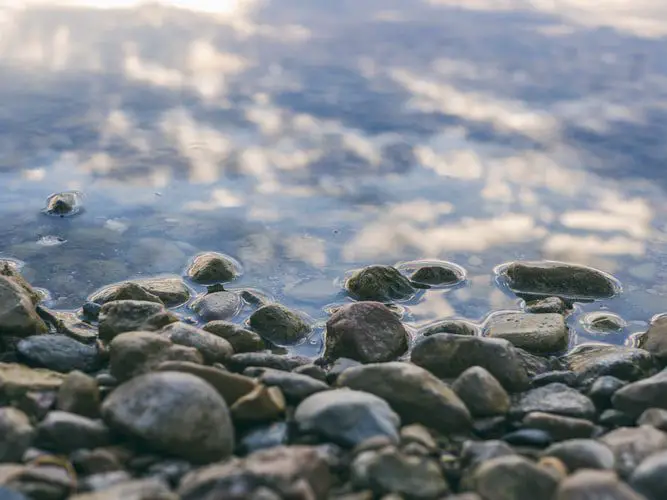
River Rocks
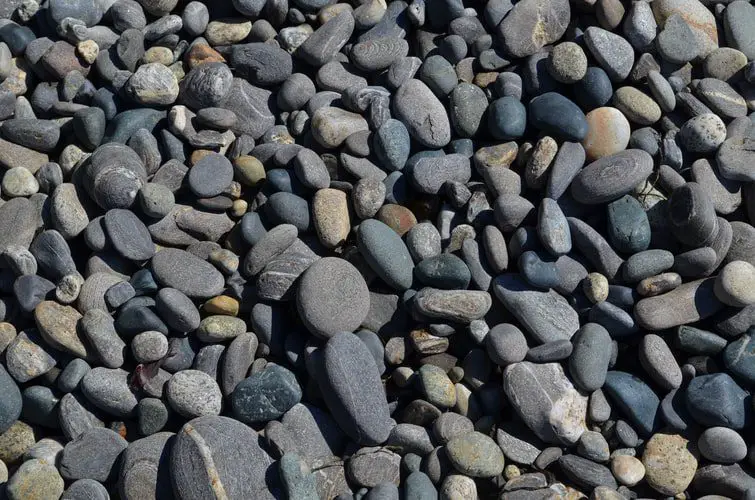
Do you want rocks that can draw attention, contrast with green grass or plants? River rocks will be perfect for the landscape.
River rocks are naturally shaped into what they are (rounded) by flowing water. When you go to rivers, lakes, or oceans, you will see many of these river rocks. They can appear in a variety of sizes and colors, but they will usually have small imperfections on a mostly smooth and even surface.
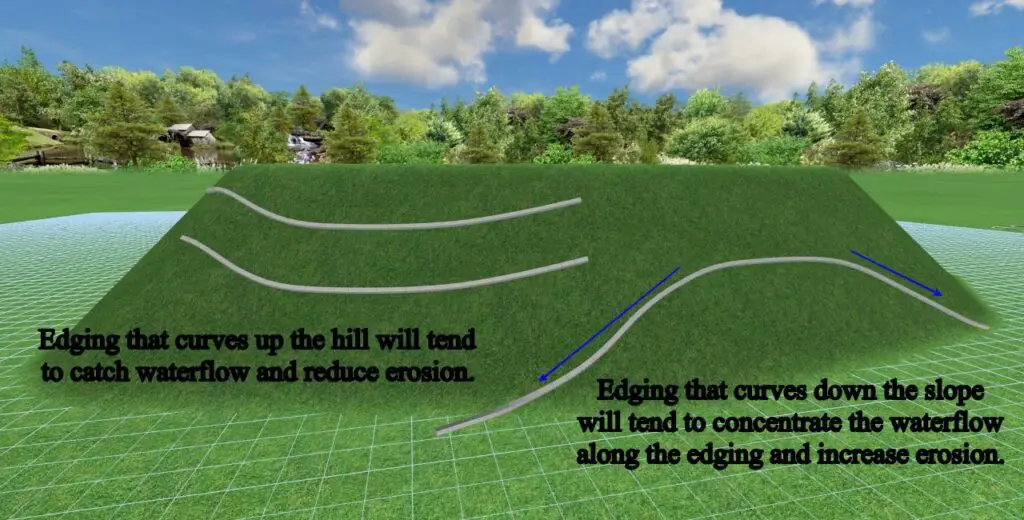
River rocks are very popular in backyard ponds and waterfalls and are often used as a long-term replacement for wood mulch on garden beds. River rock is also often used in landscaping to help control erosion and to channel excess water flow.
Gardeners also like putting river rock pebbles at the bottom of succulent plants in containers to encourage drainage. Why is it important? Proper drainage is crucial to prevent root rot.
And, as mentioned earlier, your options for river rocks are limitless! Although, expect to pay more to get rarer colors such as burgundy, red, and green.
Lastly, river stones have long been a landscape staple due to their beautiful colors, smooth texture and long lasting durability. Whe installed over a high quality landscape fabric, river rock on your beds can last you a lifetime.
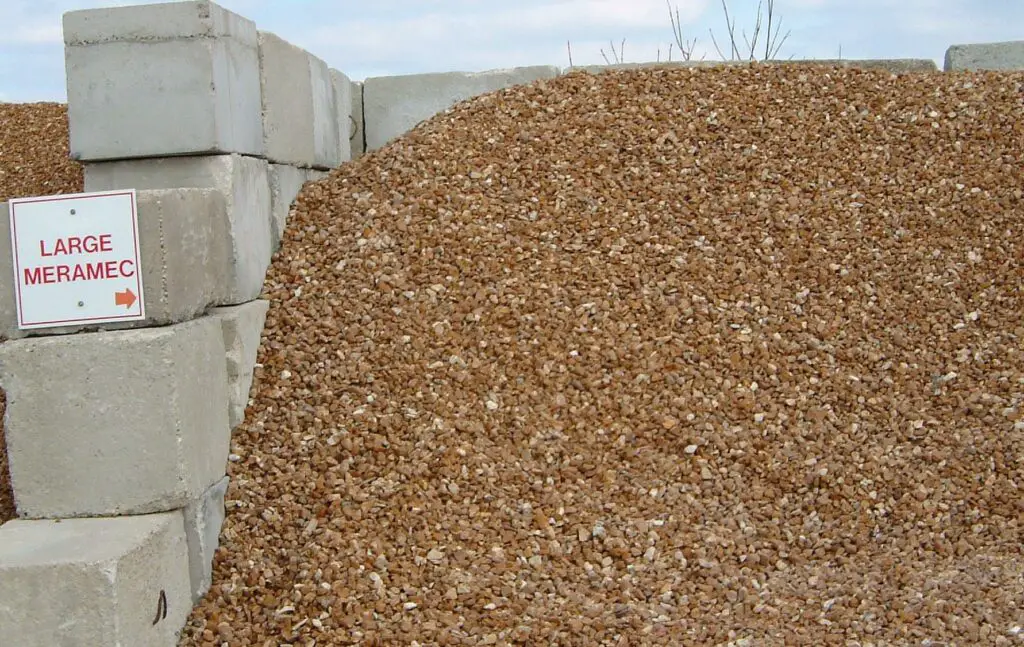
Crushed Limestone
Limestone is a raw material utilized in several applications worldwide, such as infrastructure, agriculture, and industrial products. For your landscape, though, limestone’s color is sure to impress if you use it as a loose-fill material in pathways, driveways, and patios.
Crushed limestone is still one of the most popular landscaping stones with high reliability, accessibility, cost-effectiveness, and aesthetic appeal.
Crushed limestone is some of the hardest packing material that you can find. The sharp angles of the fractured stone along with the dusty fines will cause this stone to compact very hard over time. Often referred to as traffic bond (TB), this is a very economical stone offered in a wide range of sizes that is often used for the foundations of roads, driveways and walkways.
Also, crushed limestone is high in nutrients and can help plants, flowers, and vegetables grow faster. The calcium carbonate component of agricultural lime (from limestone deposits) may be used to neutralize part of the acid in the soil when you distribute it over the soil.
Stone Dust
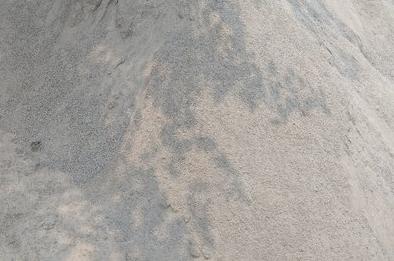
Stone dust is a by-product of the crushing industry. It’s coarser than sand yes not as course as 3/8″ traffic bond.
Property owners commonly use it in outdoor landscaping projects or as an easy to work top coat over a base of crushed limestone when installing brick paver or stone patios and walkways. It is easy to work with , yet will set up much more solid than sand. Once this material is watered down, it will become very hard. to fill in gaps.
Crushed Granite
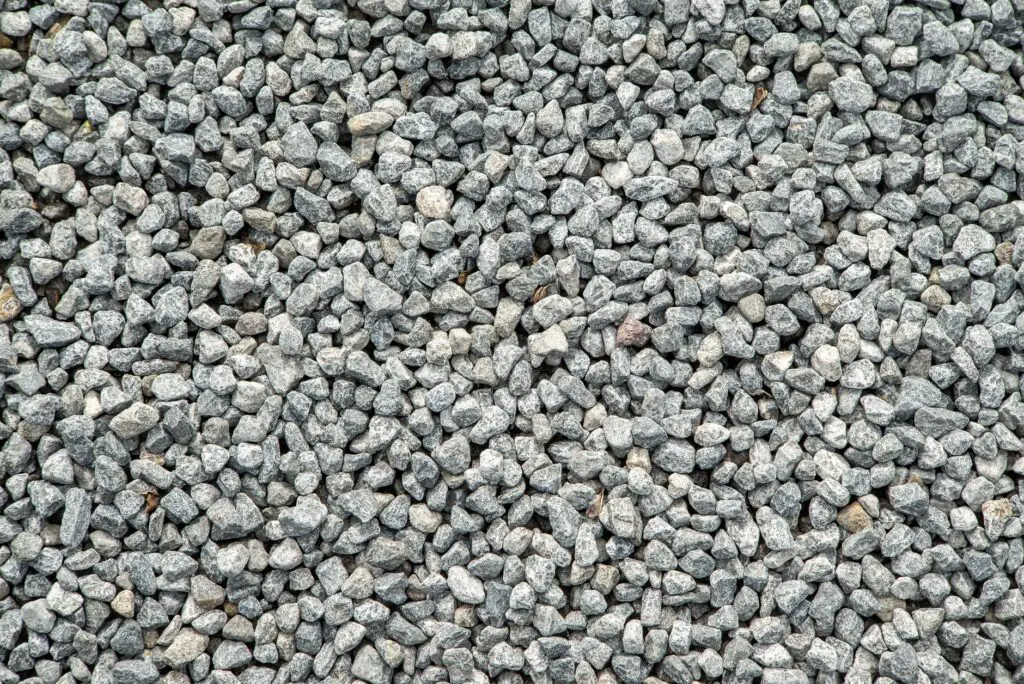
Crushed granite, like other crushed rock, is perfect for large-scale projects. Landscape professionals prefer to put crushed granite around the margins of their paths to create a good transition between the trail and the greenery since it blends in well and compacts nicely.
Crushed granite is more expensive than some stone, but it is a very popular and long lasting alternative to the more pricey river rock. It is often used as a bed cover and also in walkways as it will compact fairly hard over landscape fabric and create a quick to install solid path.
It also has a delicate, organic aesthetic that works nicely in a relaxed setting and is simple to install by yourself! If you don’t want your landscape looking dull, perhaps don’t take these rocks for granite.
Decomposed Granite
Decomposed granite and crushed granite may well be the same stone, with decomposed being just a bit more fine. It is granite that got broken down to the point that it is made up of very minute and fine fragments. They are referred to as “Masado” (Japanese) and are considered unique soil. Some folks refer to this stone as rotted granite also.
You can choose from various colors, which makes it great for making your pathways and trails. But you’ll mostly see decomposed granite appearing tan with a hint of red. Anyway, it will give your landscape a warm, rustic feel.
It’s also reasonably priced, that’s why it’s among the best rocks for landscape beds!
Decomposed granite is a fantastic option to use in planting beds, as it is so fine that turning it into the ground while planting some new perennials wont be a problem like it would with other stone ground covers.
Lava Rock
Lava rock is volcanic rock formed by the crystallization of actual lava after it has cooled. You can classify a lava rock as an igneous rock.
But what’s so special about lava rock? Well, I’m not really sure, but people sure do like to use them in their landscapes. They are inexpensive, lightweight, and water moves freely through them. They can be an ideal, long-lasting bed cover for homeowners who don’t want to lift some of the heavier alternatives.
Furthermore, they can hold some water in their pores and then send it to the plants over time. They’re also fantastic weed and insect deterrents.
Lava rock has also been used extensively in the water garden industry as a light and porous rock with a lot of surface areas for bacteria to collect and colonize. Mesh bags of lava rock can often be found holding down the filters in a waterfall box.
Crushed Shells (not actually Stone)
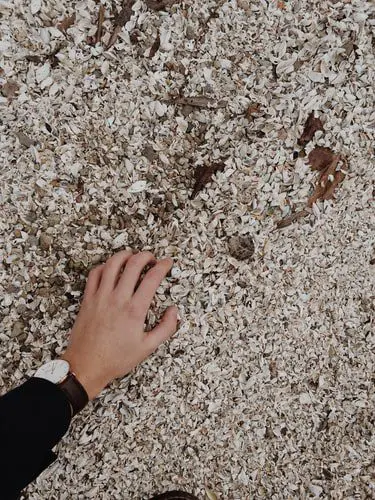
Let’s get this out of the way: by using crushed shells for your landscape, you’re helping the environment.
According to Dr. James Morris (Royal Belgian Institute of Natural Sciences), seashells are always discarded; by doing so, people throw away an astounding volume of biomaterials that may be beneficial. See how big of a deal your choice of landscape rock is?
While not technically rock or stone, this natural material sure does act like it in the landscape. For gardens, flower beds, and other spaces in your landscape, this sustainable material can be utilized as a composting type mulch. The shells will break down over time, providing important minerals and sustenance to your soil and enhancing the health of your plants.
Using crushed shells can help restore poor soil and annoy pests.
Crushed seashells are often used to line walkways, giving them a soft and shiny sort of sparkle.
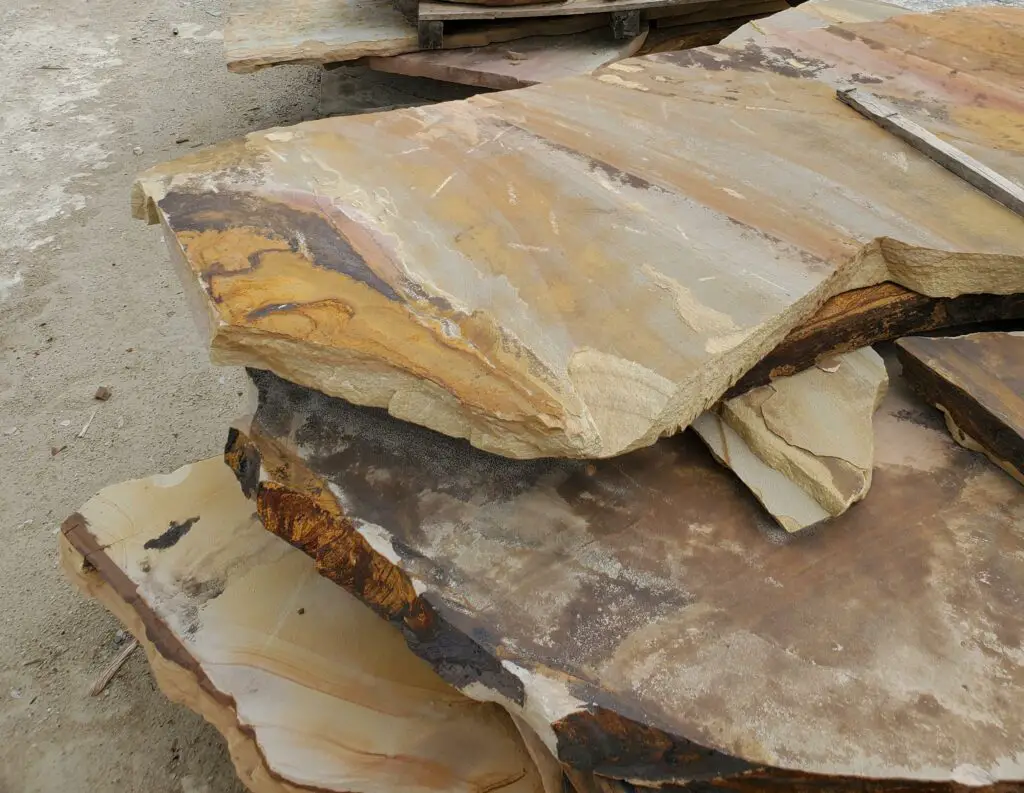
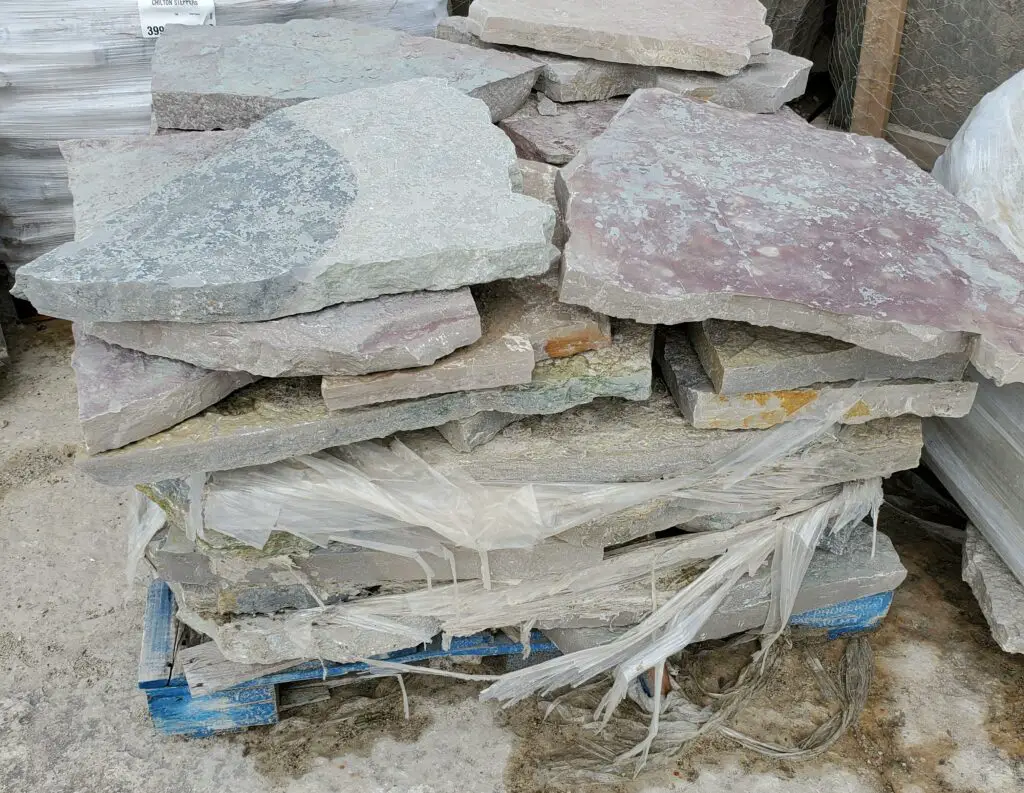
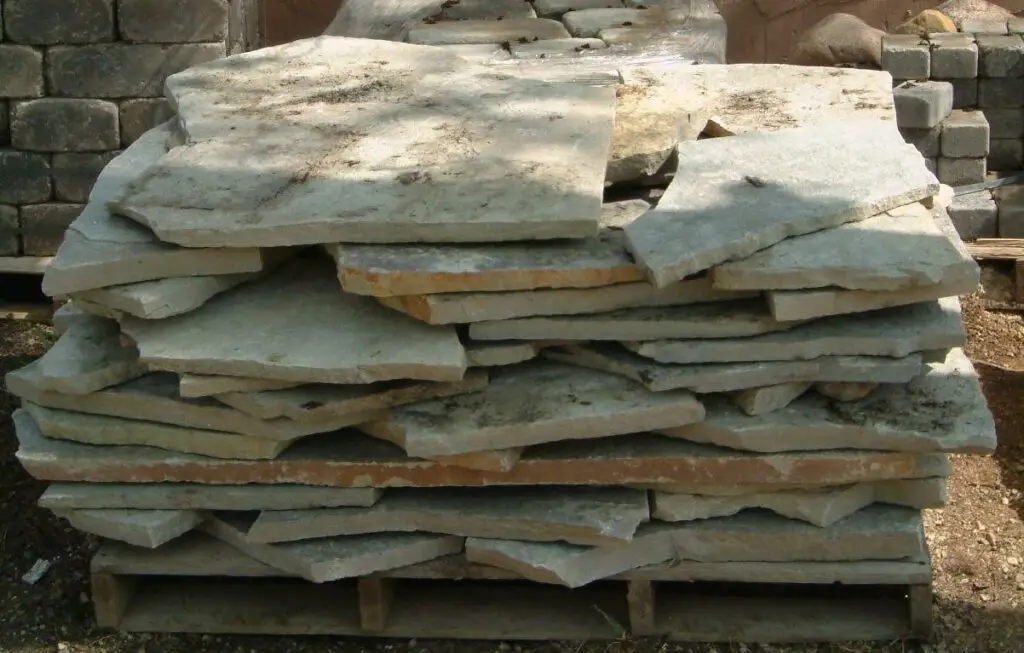
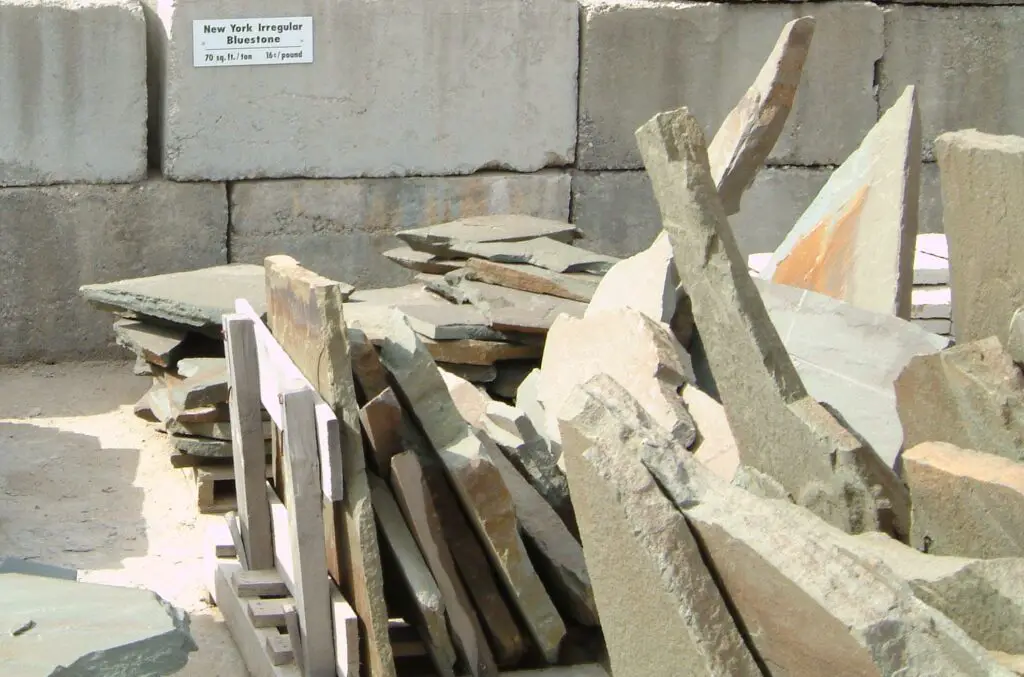
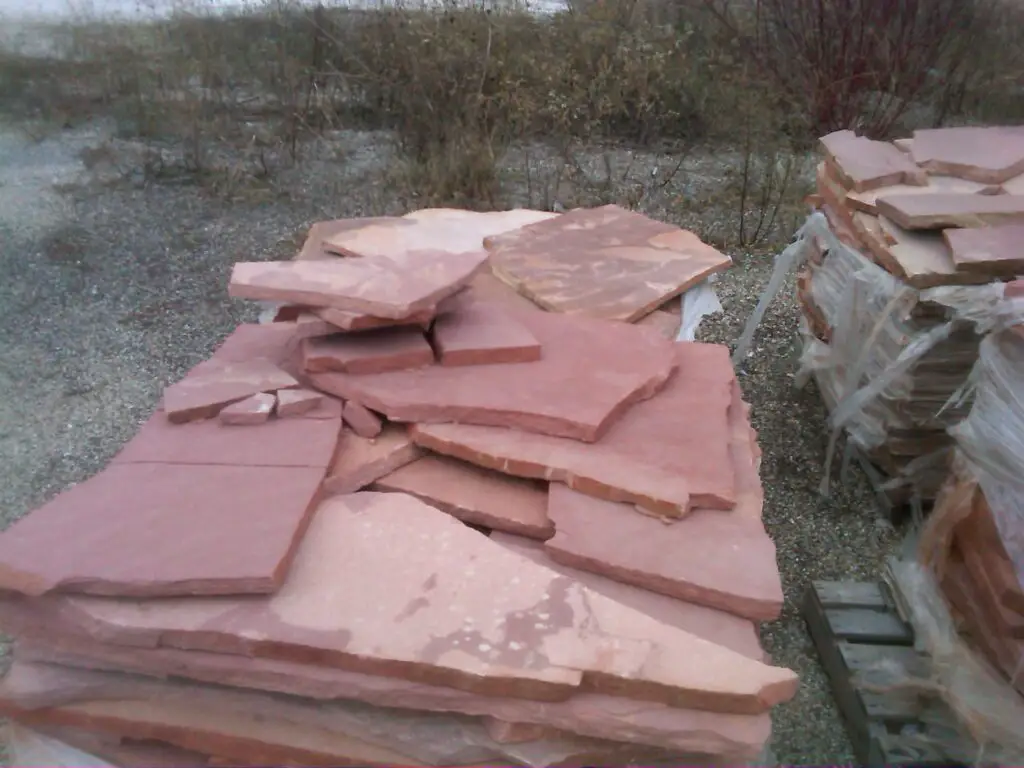
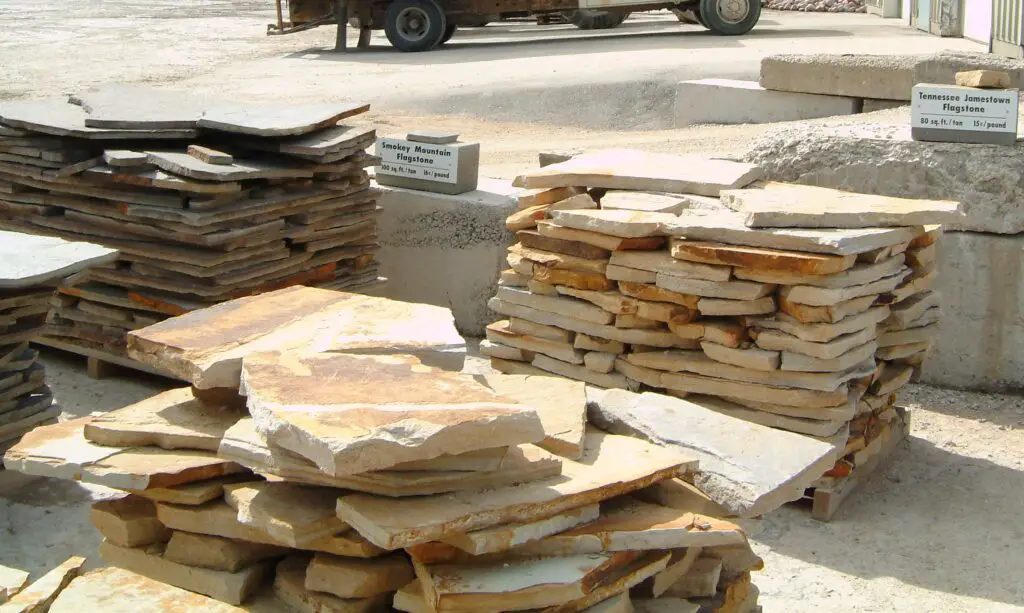
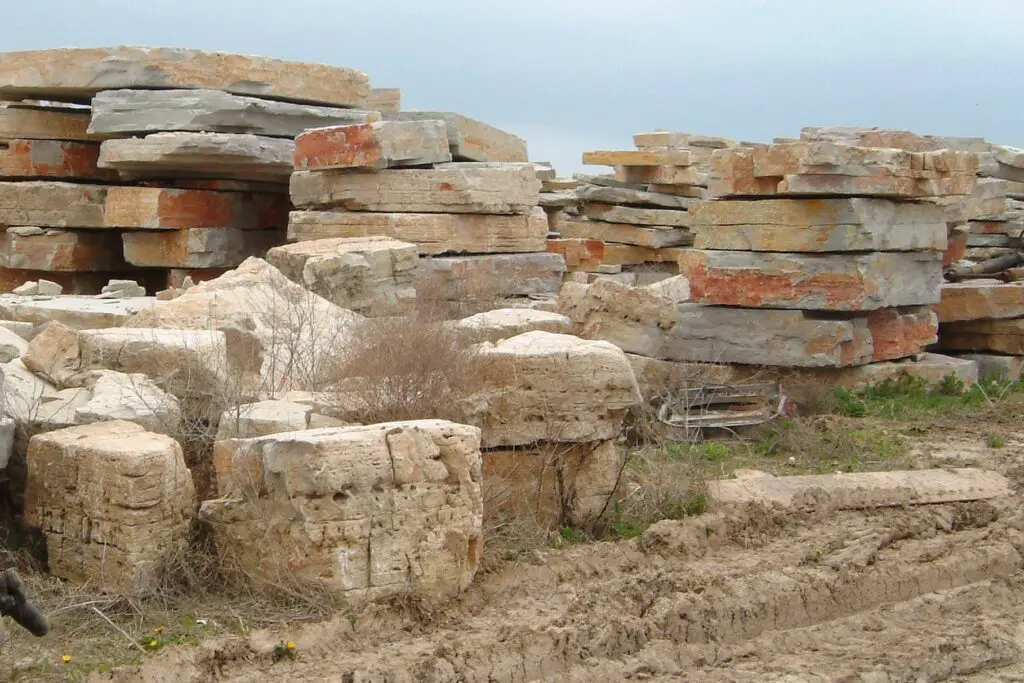
Flagstones
Most lovely stone pathways, flooring, and roofing you’ve seen in pictures are built from flagstone. Did you know that flagstone is actually a classic roofing material? For instance, stone shingles are required to cover ancient structures in the Aosta Valley, Italy.
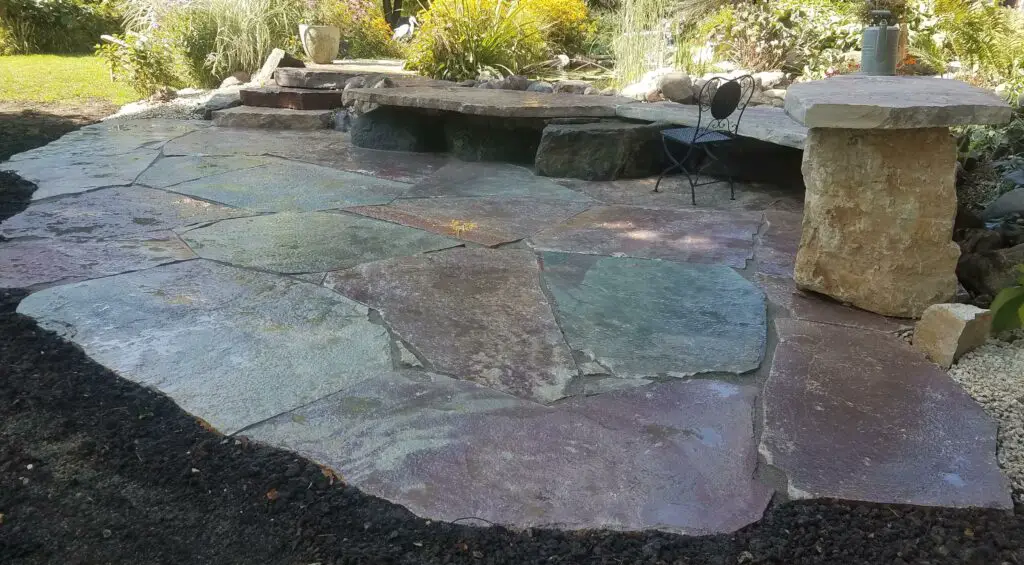
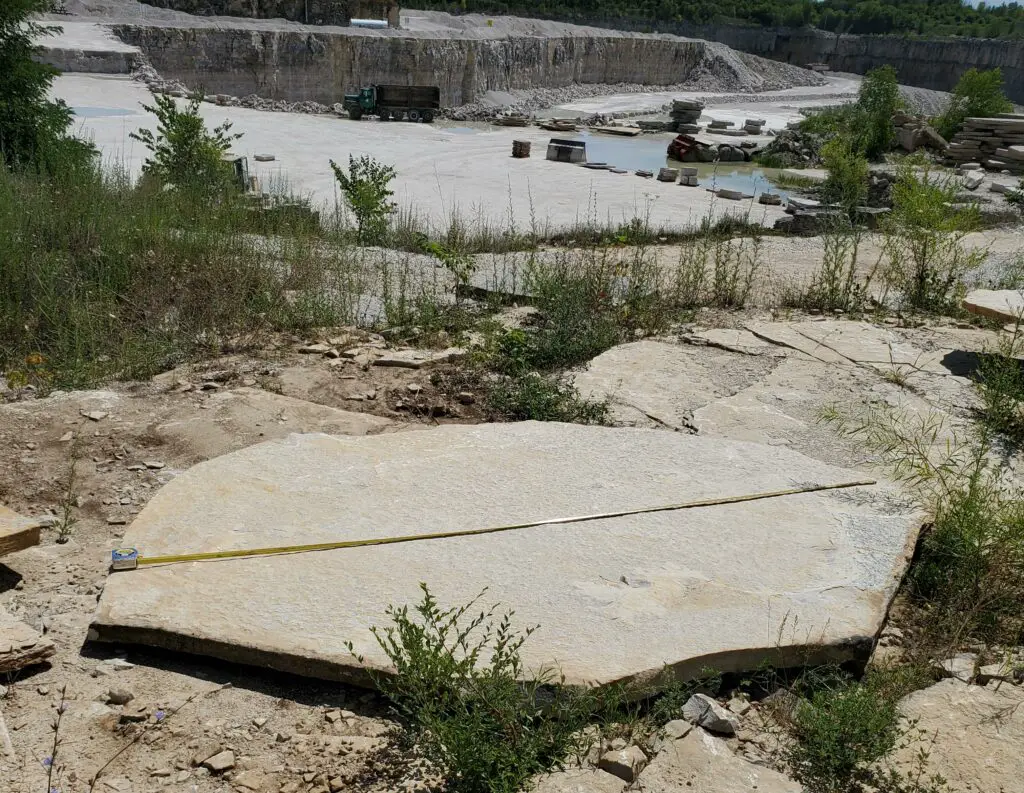
The term flagstone can refer to almost any variety of stone that breaks out of the quarry in flat , thin slabs. They are most often used for some of the most decorative patios and walkways in upscale neighborhoods. Flagstone can be randomly shaped as it naturally broke out of the earth, or it can be pattern cut (meaning cut into a specific pattern of square and rectangular pieces).
This versatile stone can be laid over dirt in a more relaxed, stepping stone path setting , laid over crushed stone in a slightly more formal and very durable application, or wet set using mortar over concrete for a very formal, very durable patio or walkway.
Because the term flagstone is such a general term that refers more to the stones shape than it’s make-up, be sure to ask about what type of flagstone it is. Flagstone can range from very hard slate and bluestones to very soft sandstones, so one flagstone is certainly not every flagstone.
Below are examples of different stones that might all be referred to as flagstone.
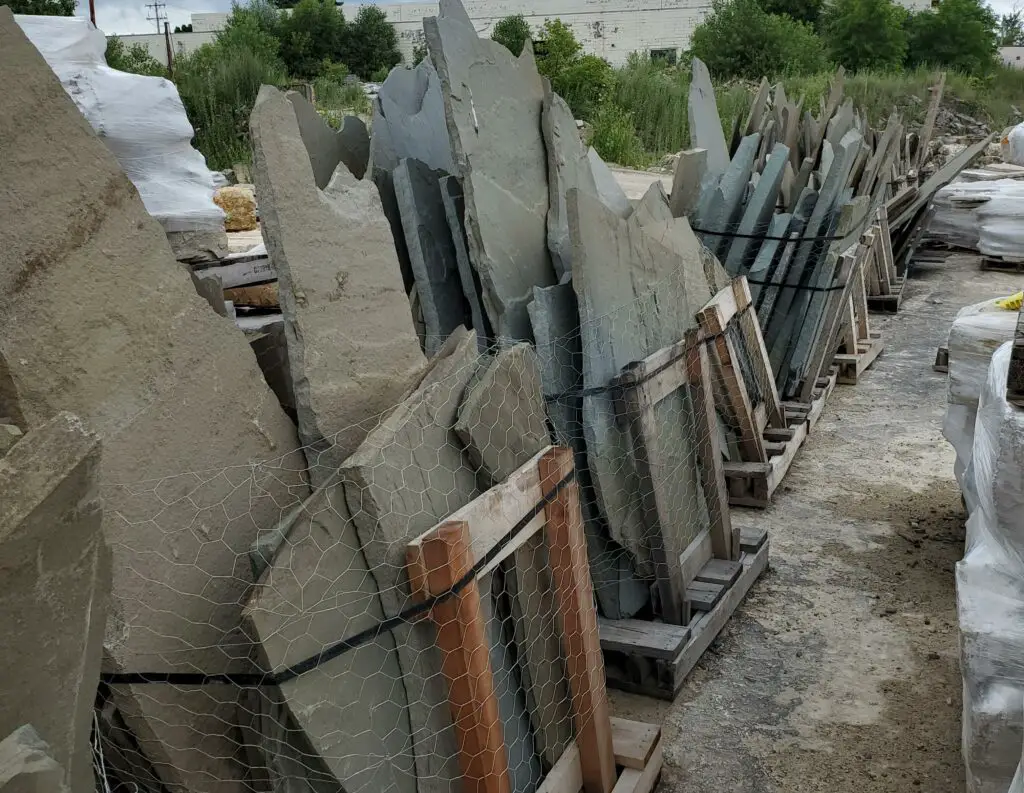
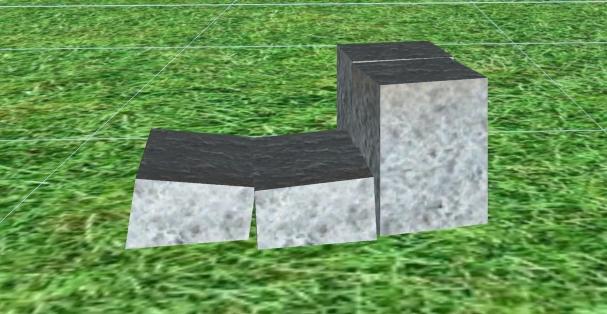
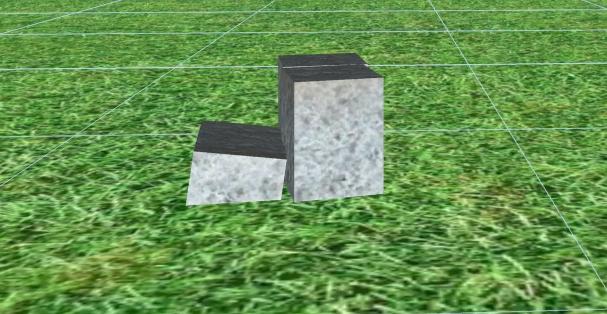
Slab Stone
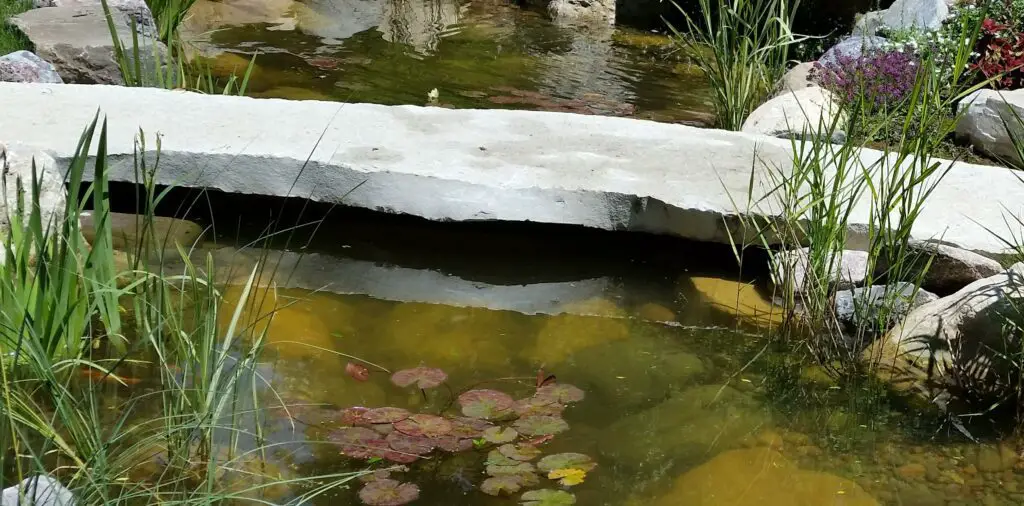
Another beautiful way to use stone in your landscape is to create patios, walkways and bridges using slab stone.
Slabstone is typically larger slabs of stone broken out of a quarry that is thicker than flagstone, yet not as thick as outcropping stone.
In my area, limestone slabs are the most common type, but I would imagine that there are other varieties. For a stone to be used as a slab stone like this, it needs to be strong enough to support its own weight when it is picked up. Layered stone such as this isn’t nearly as common as the smaller flagstone pieces.
Riprap
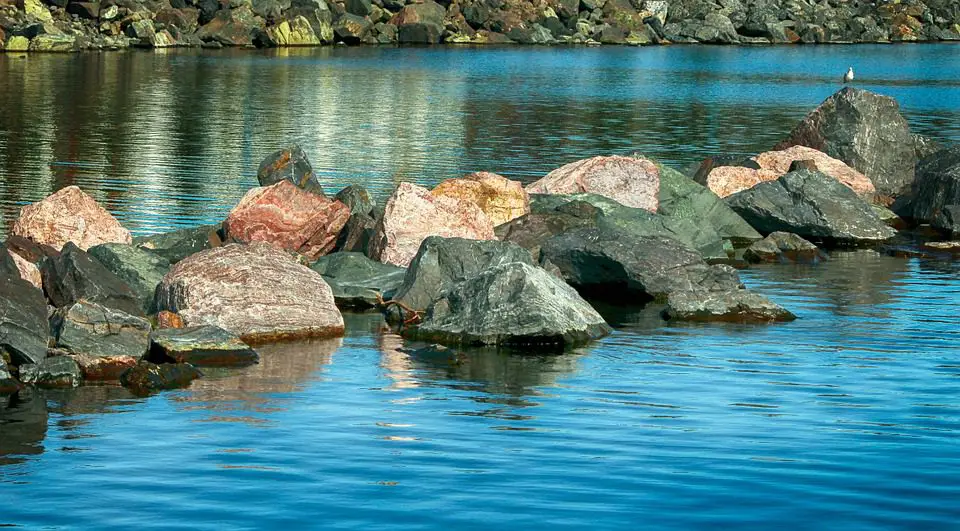
Riprap comes in many different shapes according to the stones used, such as limestone, trap rock (basalt and diabase), granite, etc.
It has a more even tint and is less ornamental than the other rocks mentioned, though it has a really natural look that plays nicely in various settings.
It’s usually placed only on shorelines and steep slopes due to its massive size (4 inches to 2 feet in diameter). Riprap will protect these structures from scour. So if you have a property in front of the beach, you’ll want to have these huge landscaping stones to protect it from being washed away.
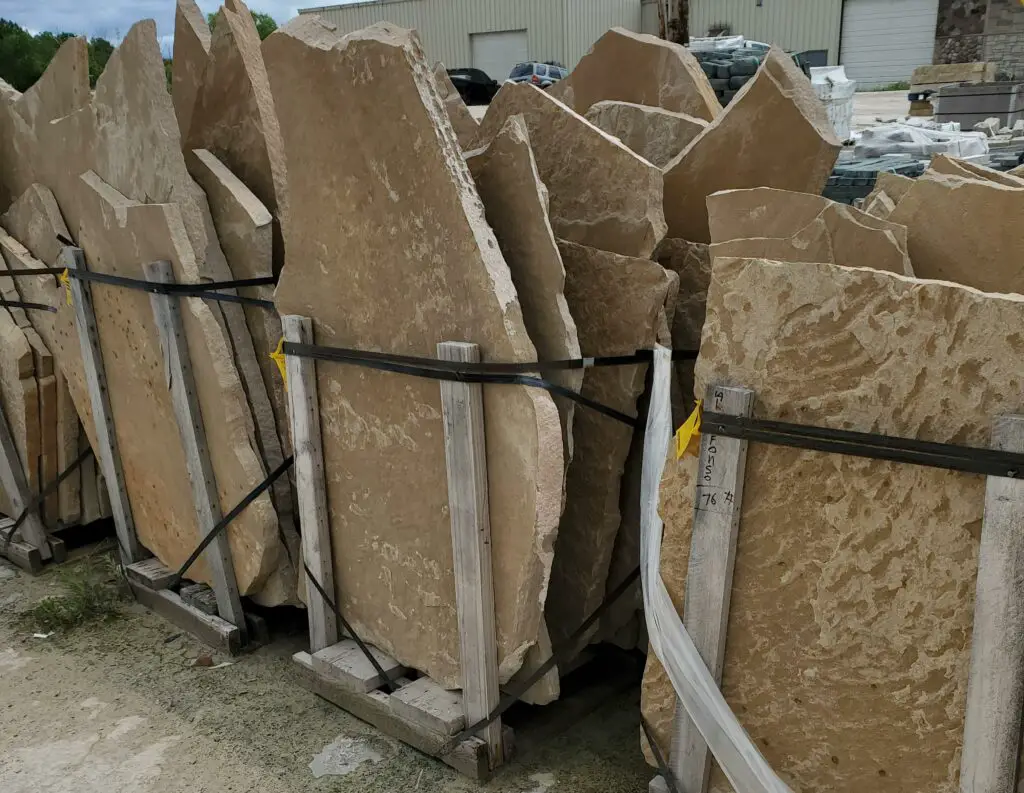
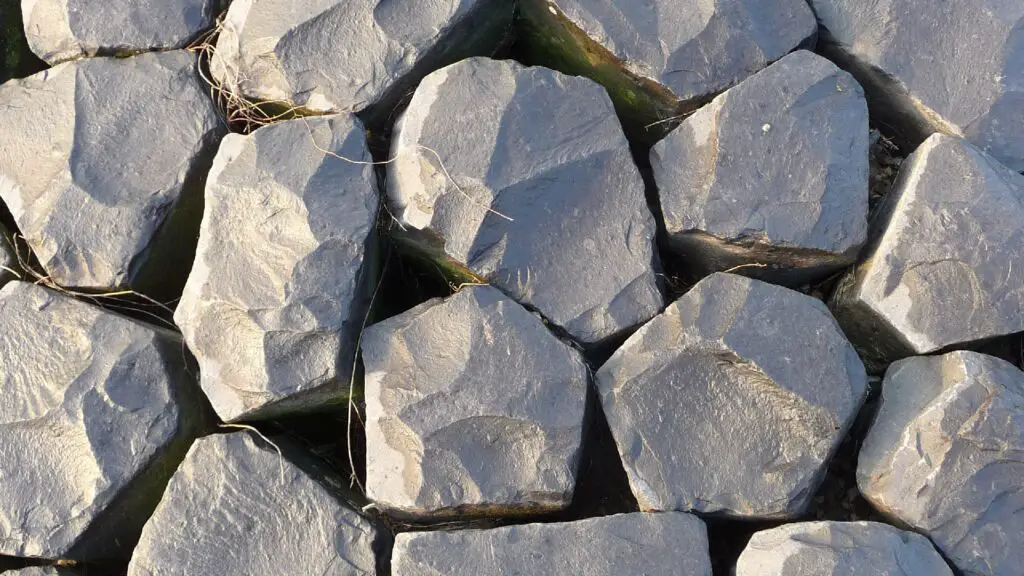
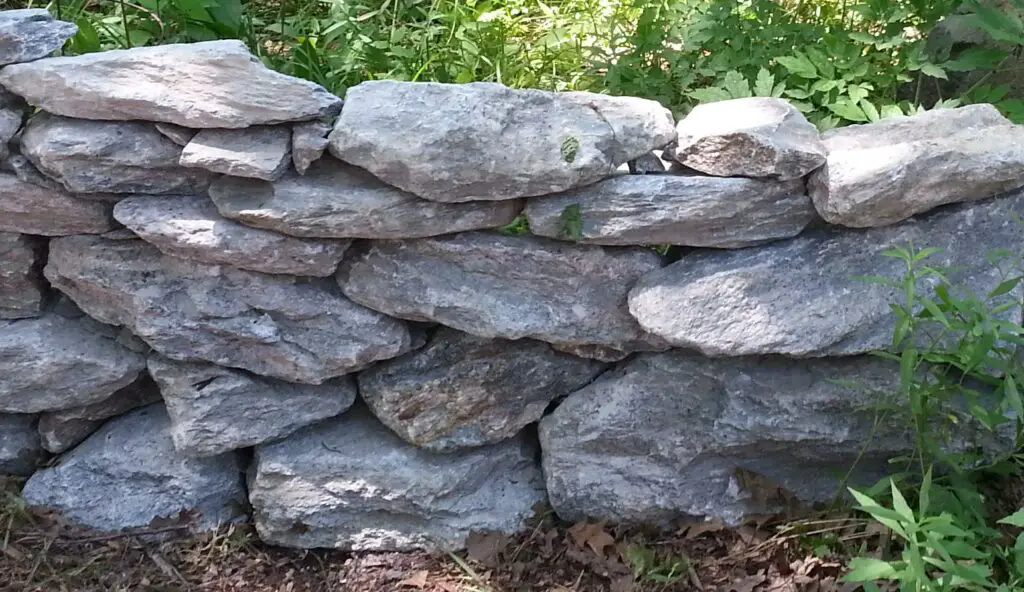
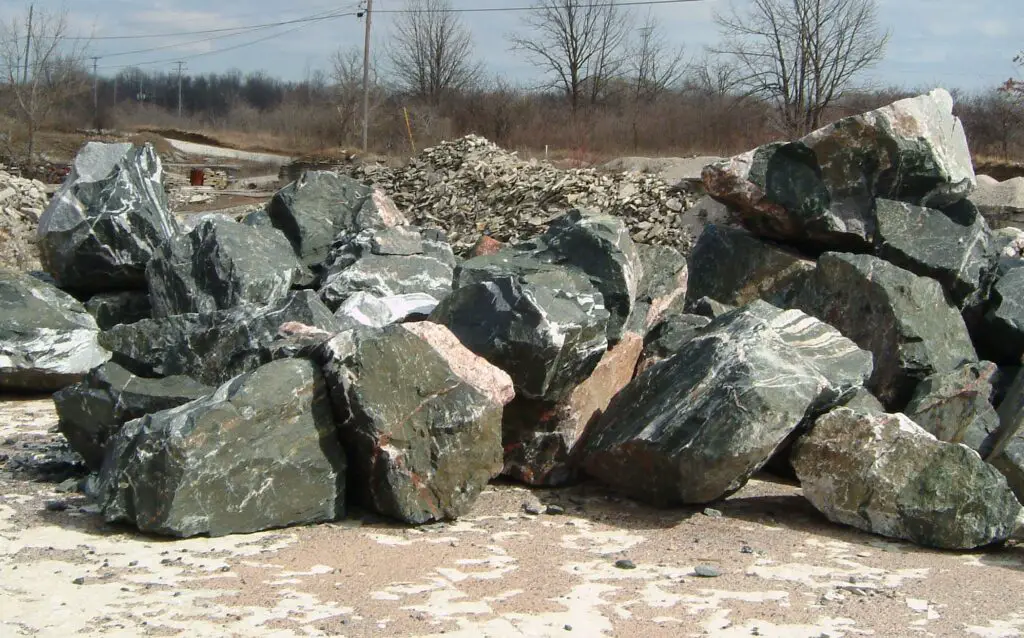
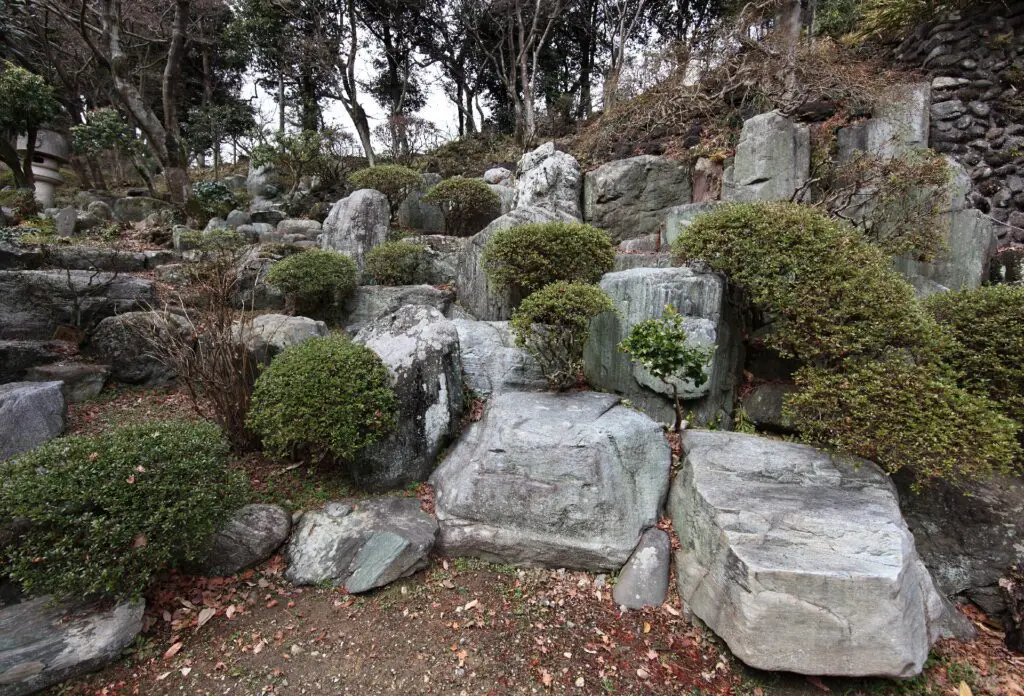
Outcropping Stone
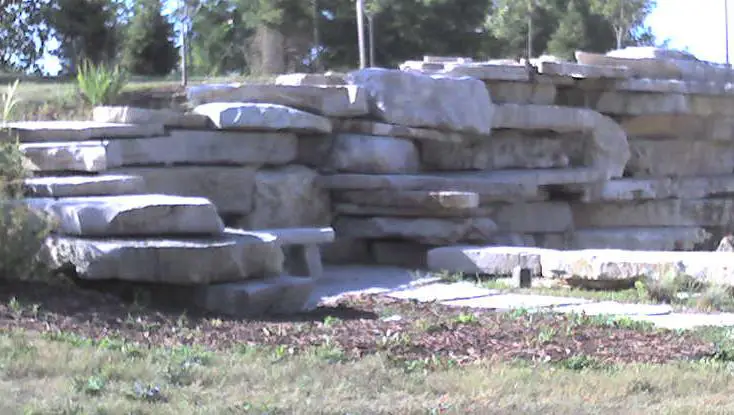
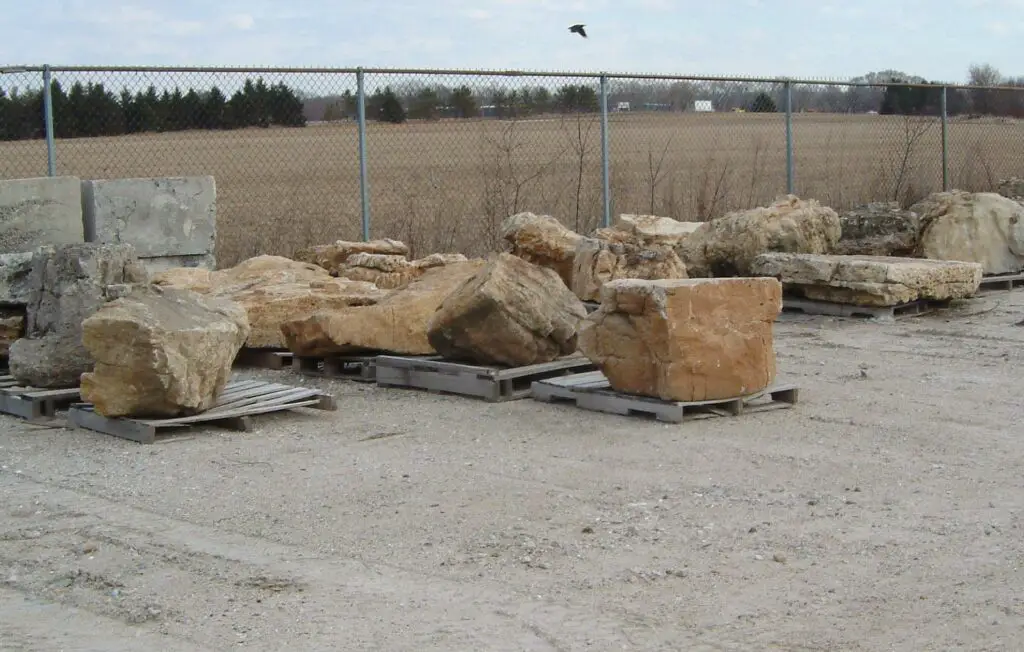
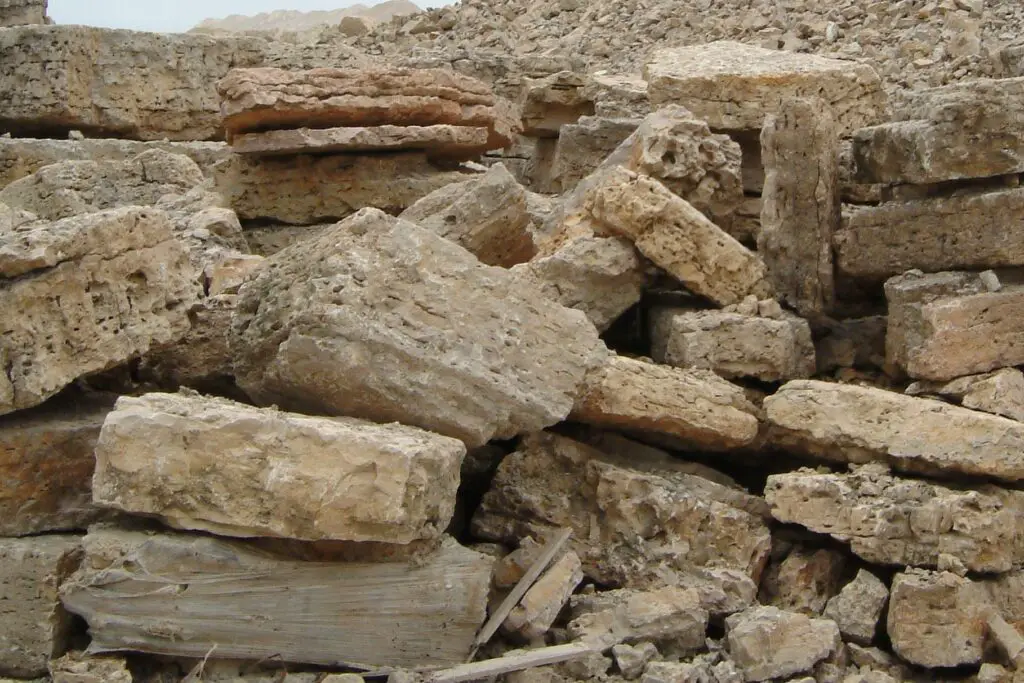


Outcropping stone is typically stone that is broken out of a quarry in big, thick chunks.
This stone is usually just left with its broken edge (called snapped edge), but is also sold as weathered edge which has one side of the stone that was exposed for a very long time to the elements and has become weathered. Obviously the weathered stone is always more expensive since it is much more rare.
There are many uses for large outcropping stones, such as building walls, steps, decorative outcroppings in the landscape, etc.
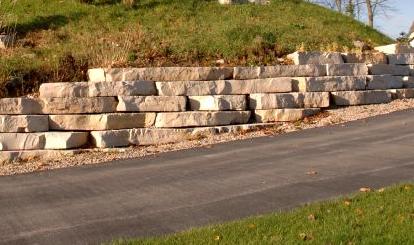
Wall Stone
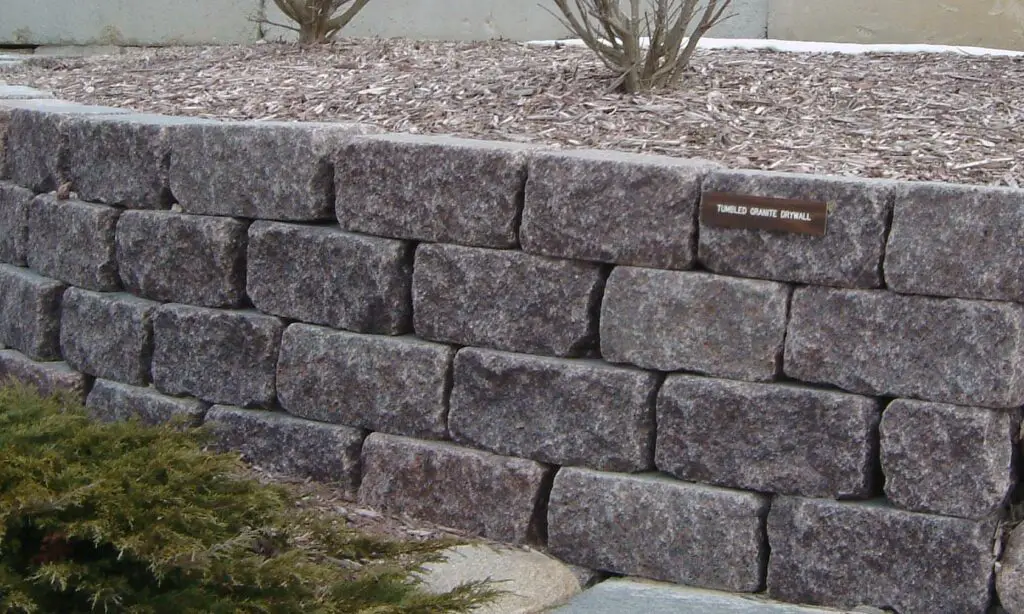
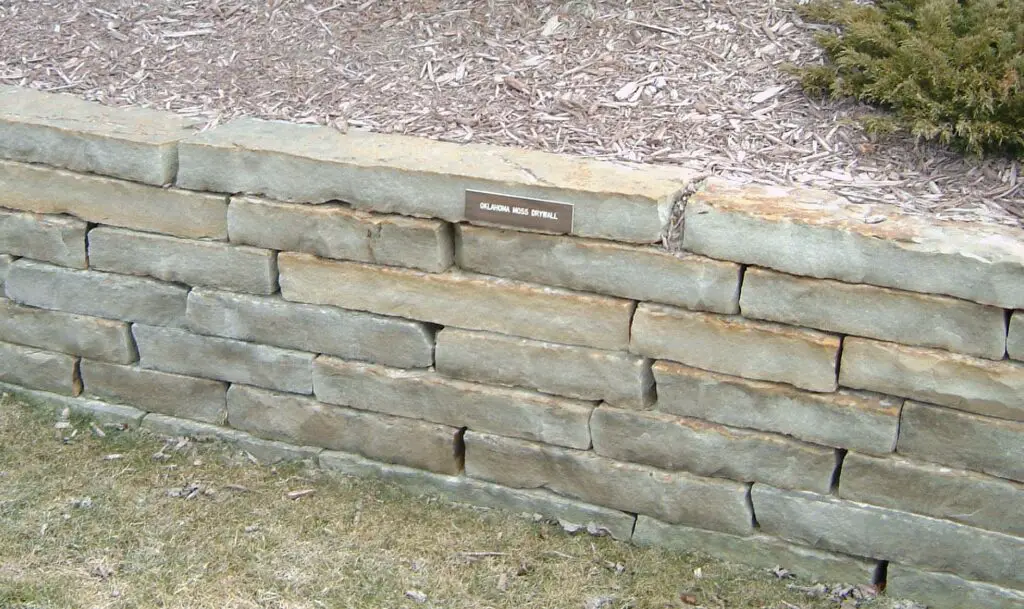
Stone can be specifically purchased to make walls. These stones are usually cut to size and sometimes may then be tumbled to give them a more rustic look.
They are very popular to use in the landscape since they are easy to carry and stack together nicely.
All types of stone can be used as wall stone, even if the stones are not cut to shape and size.
Bull Rock
Bull rock is a term used to describe a type of smaller stone that is often used in garden beds and fsmaller flowage ways. It is not crushed stone and it is not river rock, but it is somewhere in between. It is often found in the Southwestern United States and is somewhat smooth, but not necessarily rounded.
You can recognize bull rock by the size of the individual pieces (three to five inches) and the distinct, earthy brown tones. These rocks would be appropriate landscape edging material or included in rock gardens. Bull rock reminds me of desert rock.
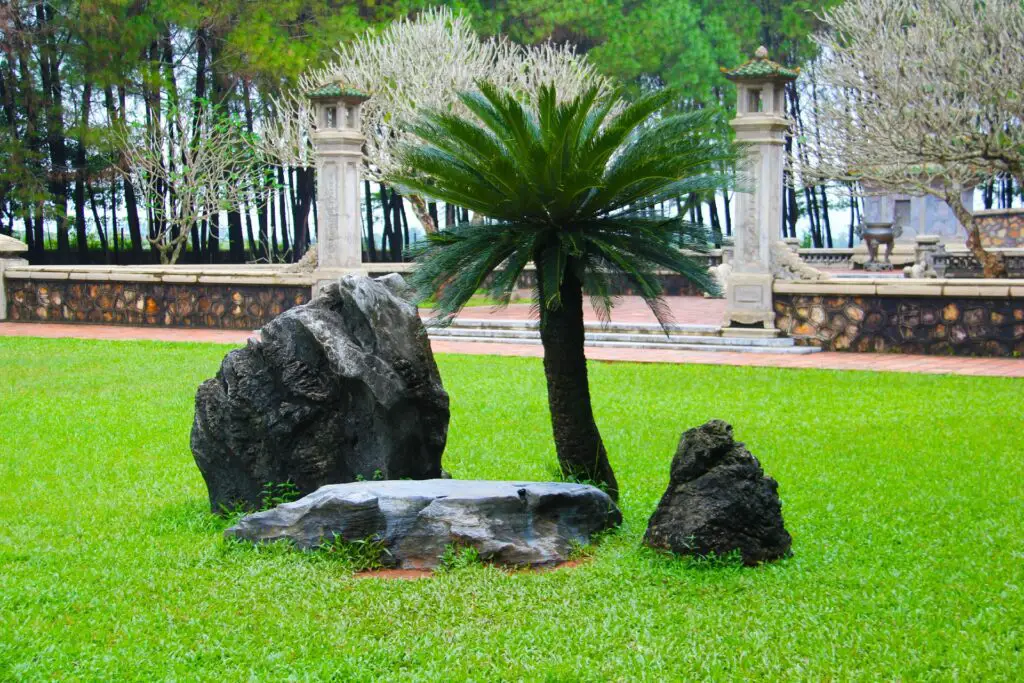
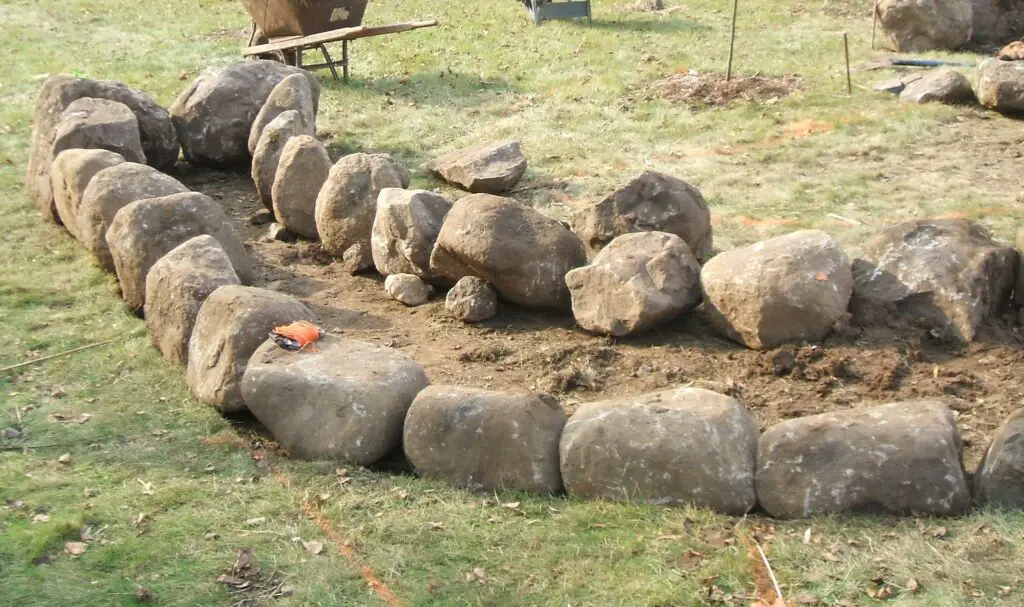
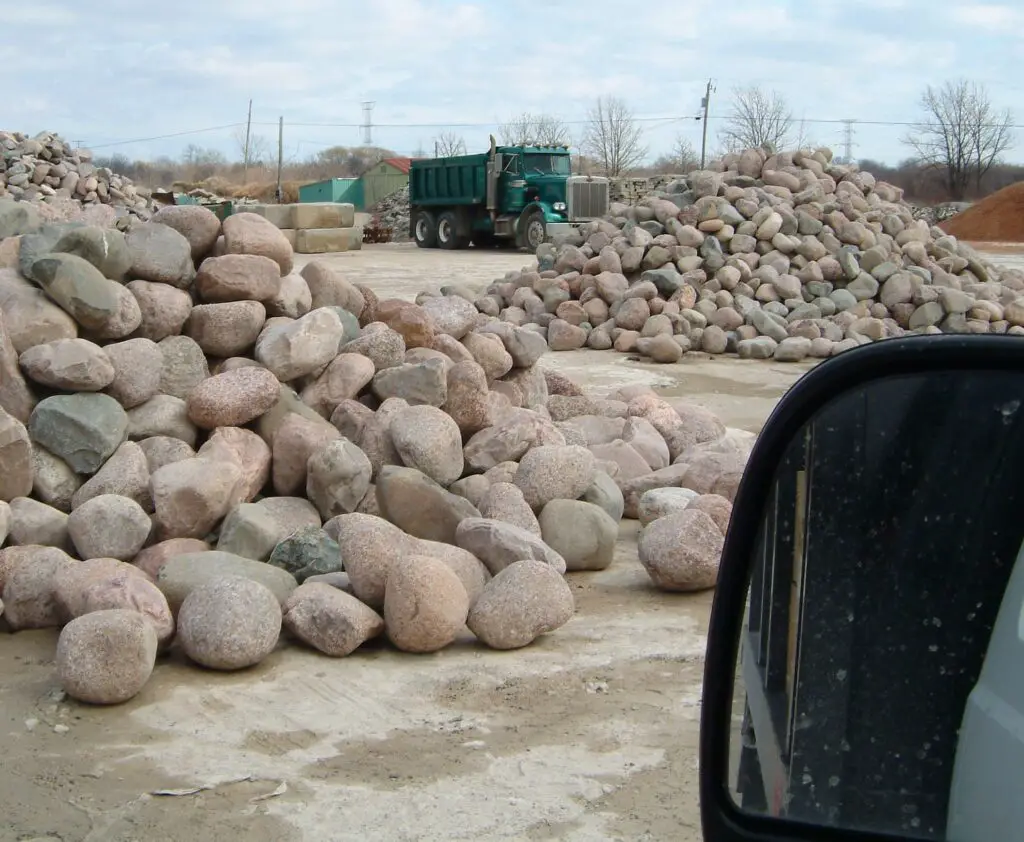
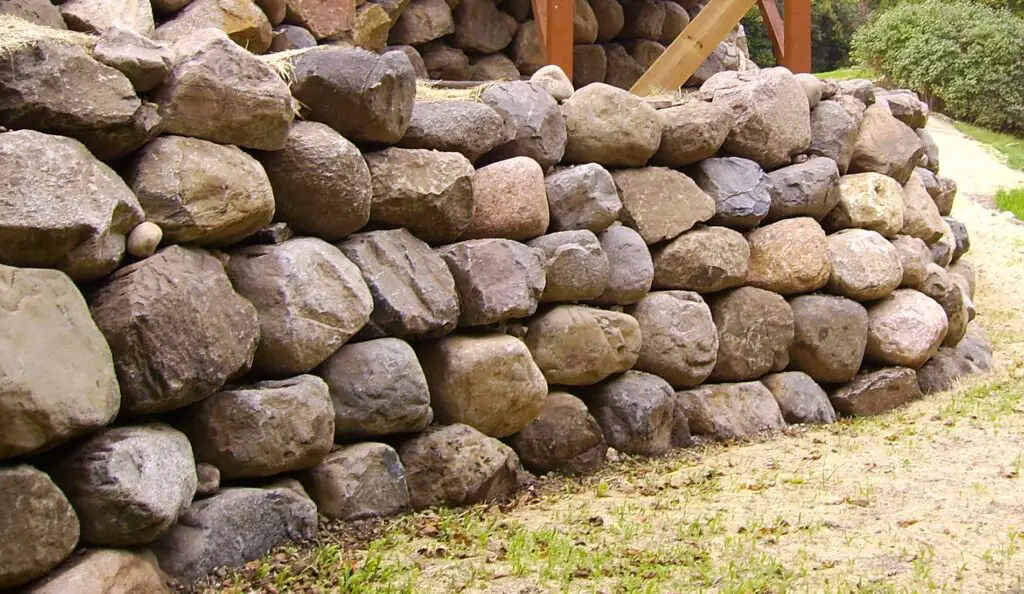
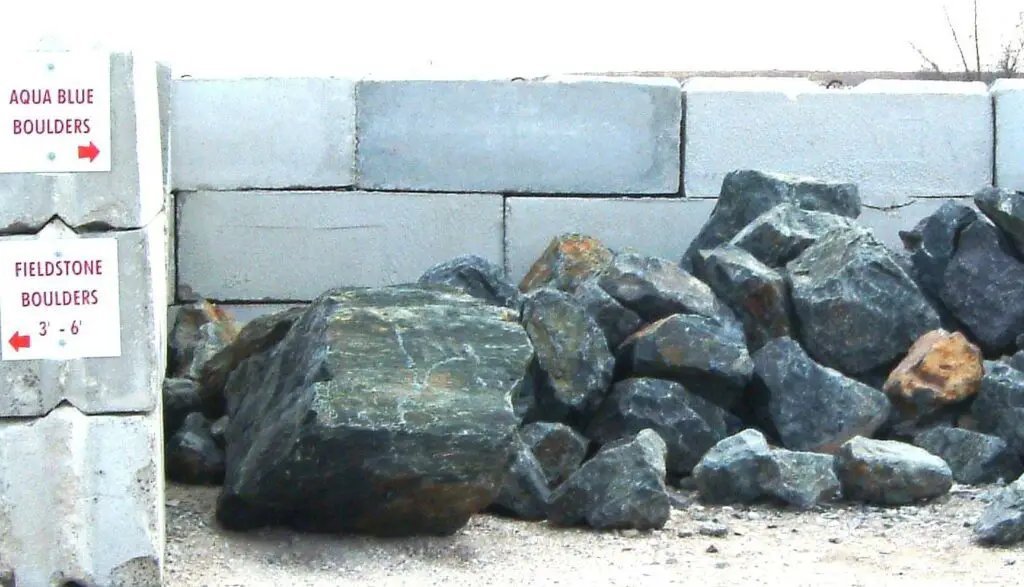
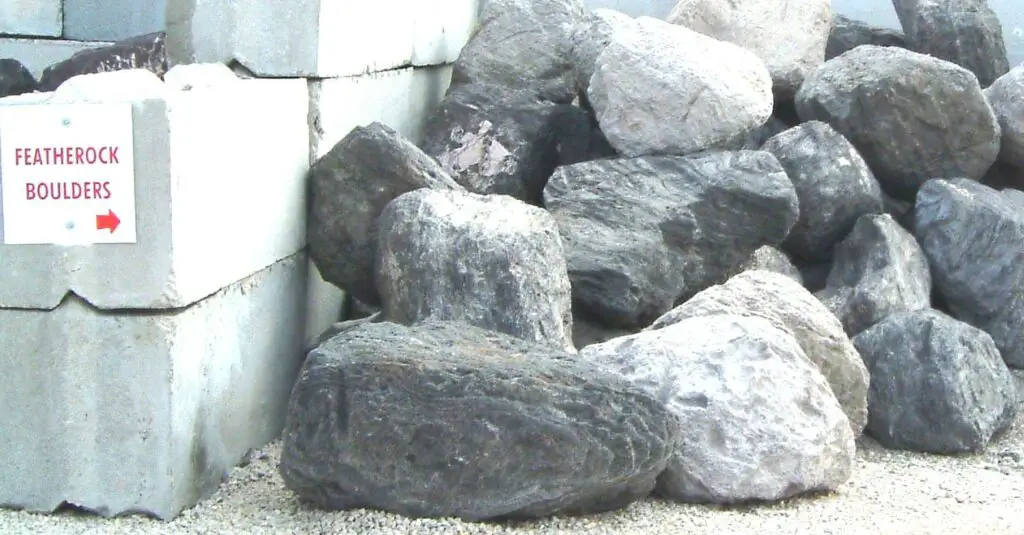
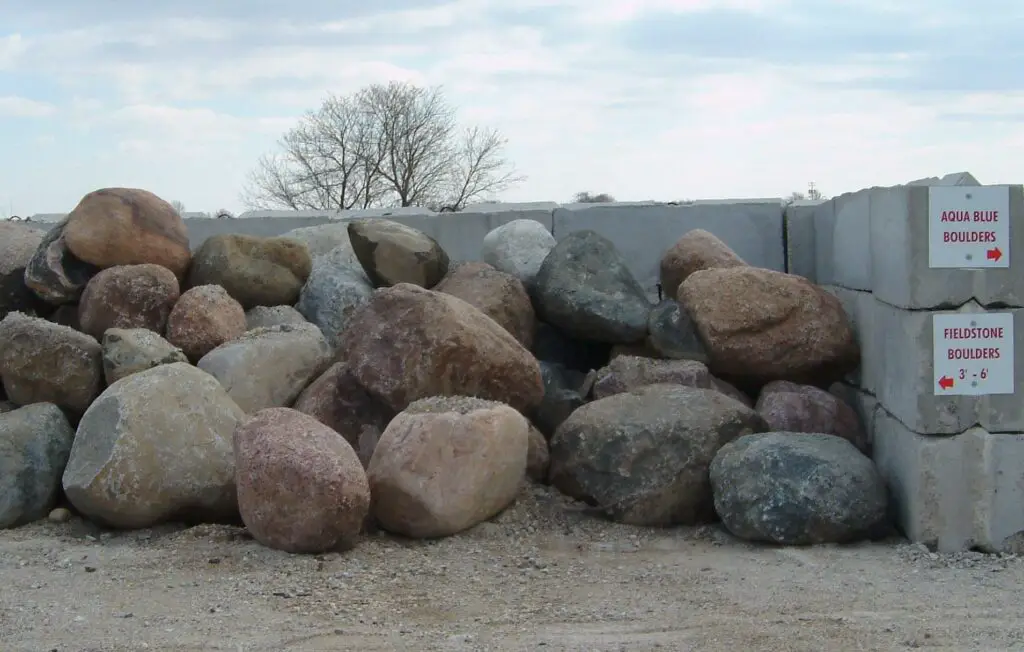
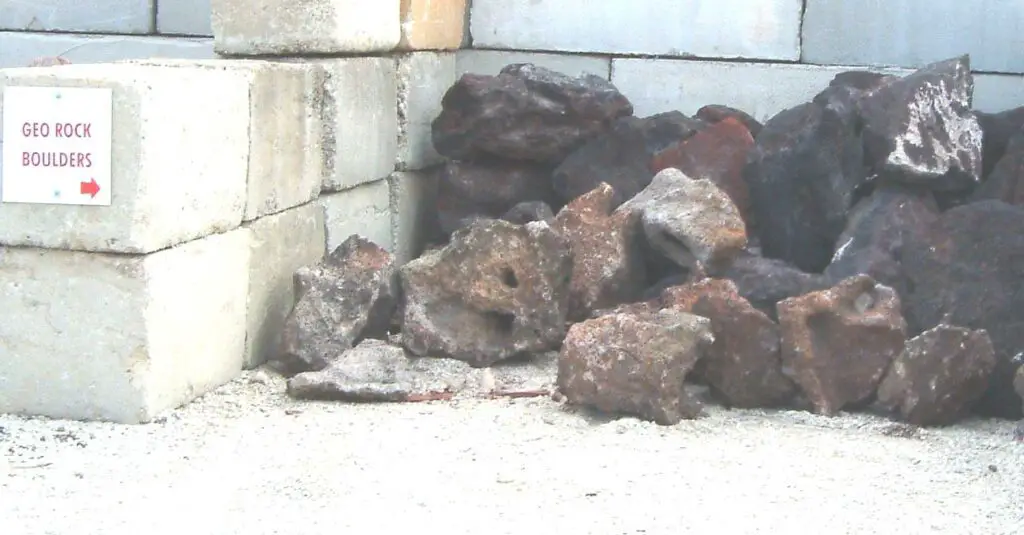
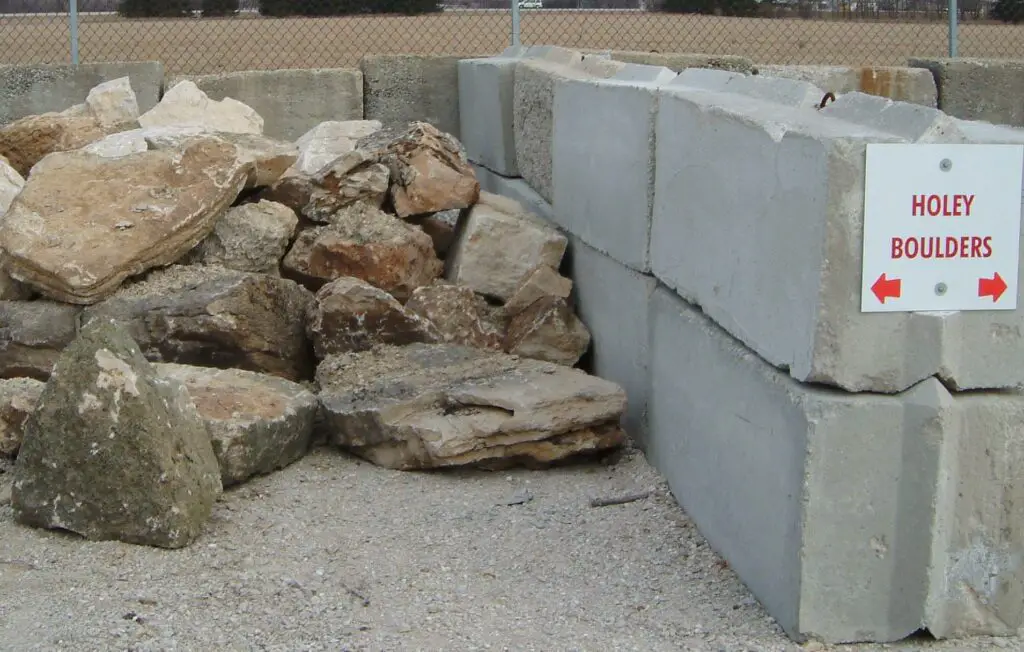
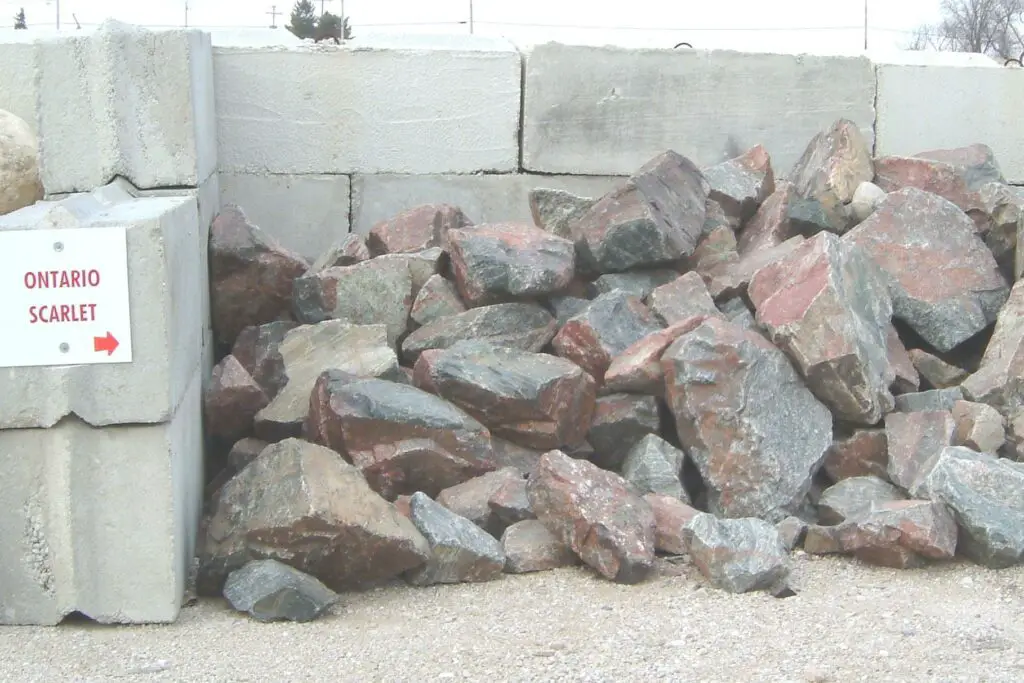
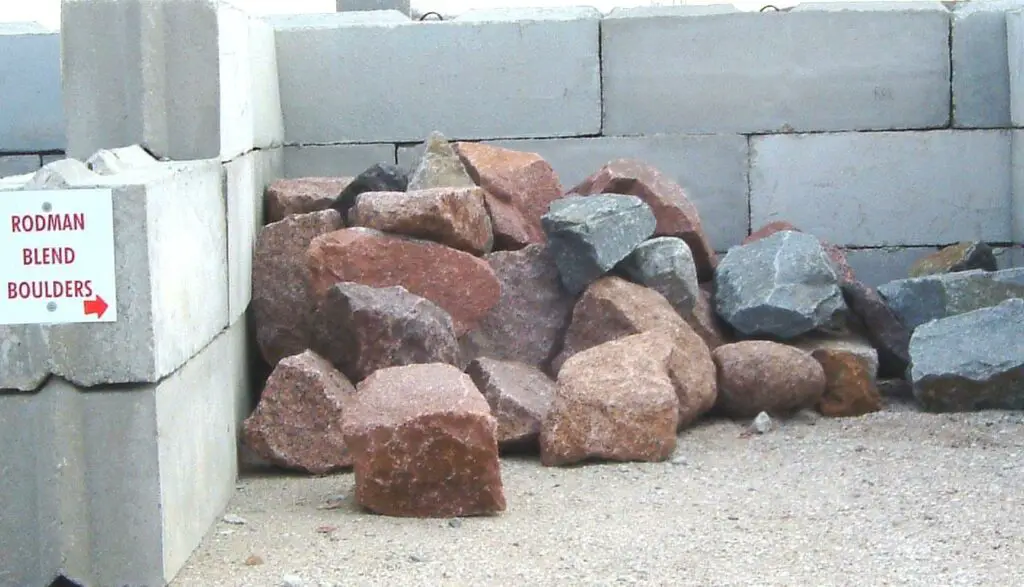
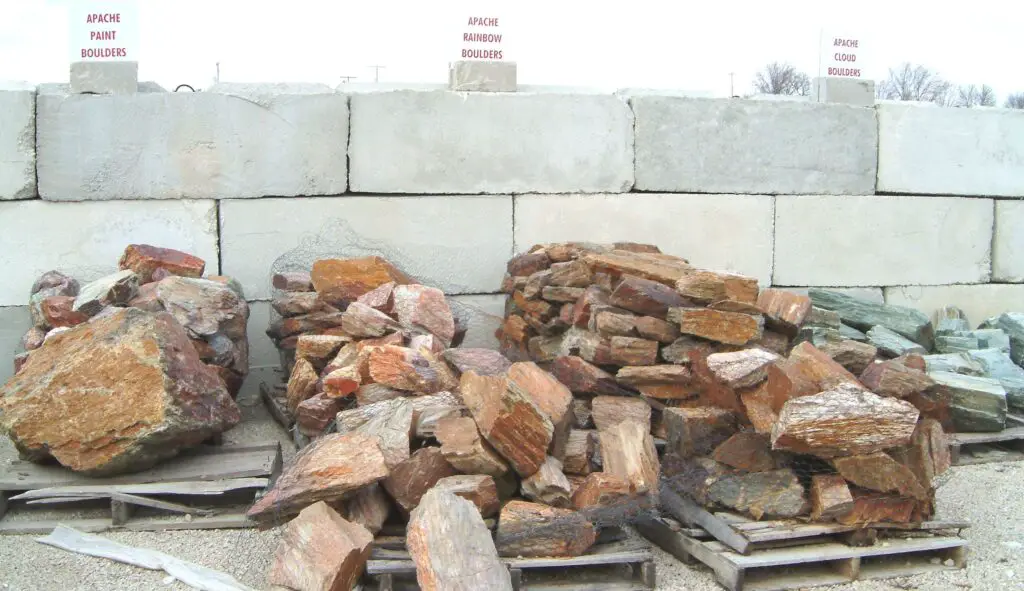
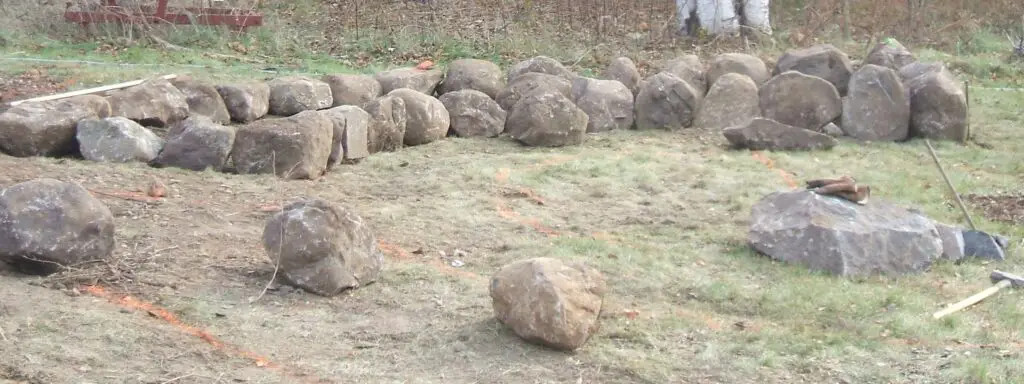
Landscape Boulders
First, what counts as a boulder? According to geologists, a boulder would be any rock with a diameter that goes above 10 inches.
Most people are afraid to get really big boulders for fear of being excessive. But you can never go wrong with a few big pieces of rock carefully positioned in your vast landscape! Once the landscape boulders are in place, the whole site will be perfect.
Even one big, irregularly shaped boulder can function as the center of attention. A boulder can be a neat accent in a small yard, where an attractive shrub may get too big or wild.
If you’re looking for nice focal points in your landscaping project, why not try the biggest rocks in existence?
Once again, this is a very general term that more refers to the size and shape of the rock than it does to its make-up. A landscape boulder can be any type of rock, so once again, use caution. Boulders can be as solid and strong as granite or as prone to wear and erosion as sandstone and everywhere in between. It is always wise to ask what type of boulders do you carry?
When people use the term boulder, they are typically referring to a large rock that is fairly rounded and natural looking. These stones can also be referred to as fieldstone since they are often naturally occuring in fields. A squared off block of stone that was blasted out of a quarry might instead be called fractured rock or block.
Here are some examples of the many types of boulders that you might come across.


Brick Chips

Brick chips are tiny fragments of brick that have been disintegrated. They have a unique red shade that makes them stand out from other landscaping rocks. These are simply recycled clay bricks, so this is a great way to re-purpose the old clay bricks.
Use brick chips if you want to add a pop of color to your landscaping beds, pathways, patios, and other areas! If you decide to use them, lay down landscaping cloth first to keep the pieces from sinking into the ground and keep weeds at bay.
What’s more, is they can serve as low-maintenance mulch too. You can count on them to keep their texture and color for a very long time.
How to Use Rocks in a Landscape
Have you already decided on which landscape rocks you like? We’re sure you’re now looking for inspiration! Here are creative ways you can use rocks and stones in your landscape.
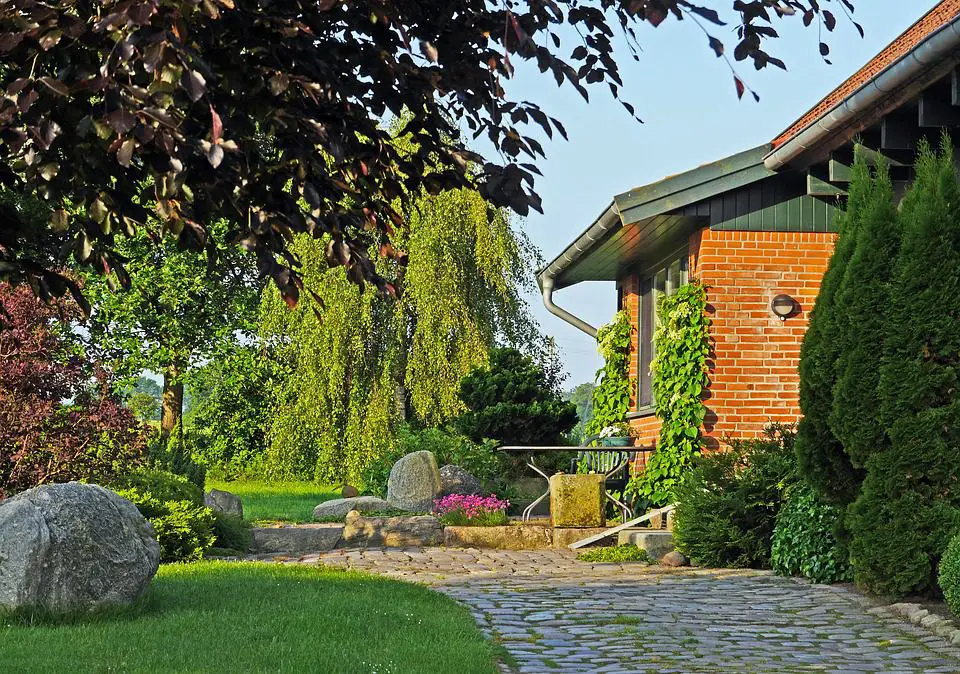
Stepping Stones for the Landscape
If your landscape needs a little something more going on, maybe it’s time to lay down stepping stones. These well-placed stones will add extra character, dimension, and color to your otherwise bare landscape!
Use them to form casual trails that wind their way around your property, link the main points of attraction, bridge water elements, and visually add a cohesive look to your landscape elements.
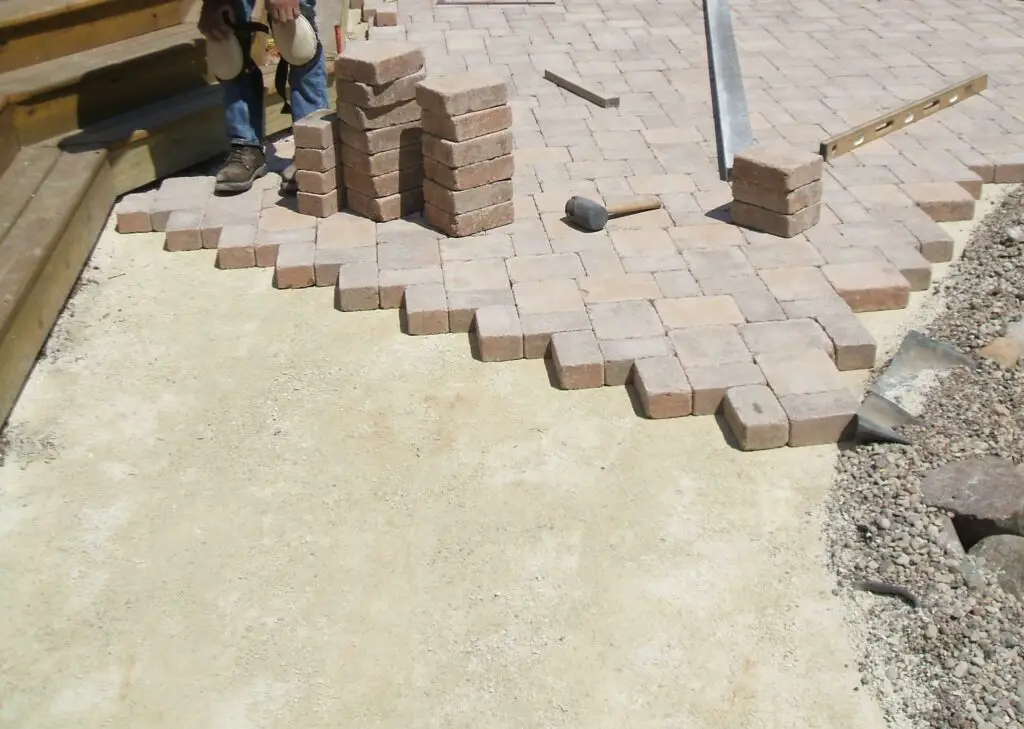
Crushed Stone Driveways
Crushed stone is an excellent choice for people who want to incorporate some style into their driveway without spending a fortune. It is plentiful, readily available, and reasonably priced.
Crushed stone driveways complement any setting and enhance any landscape. This is due to its adaptable look, which appeals to a wide range of tastes. It very often provides an impression of raw charm and never appears inappropriate.
Seating Areas in the Garden
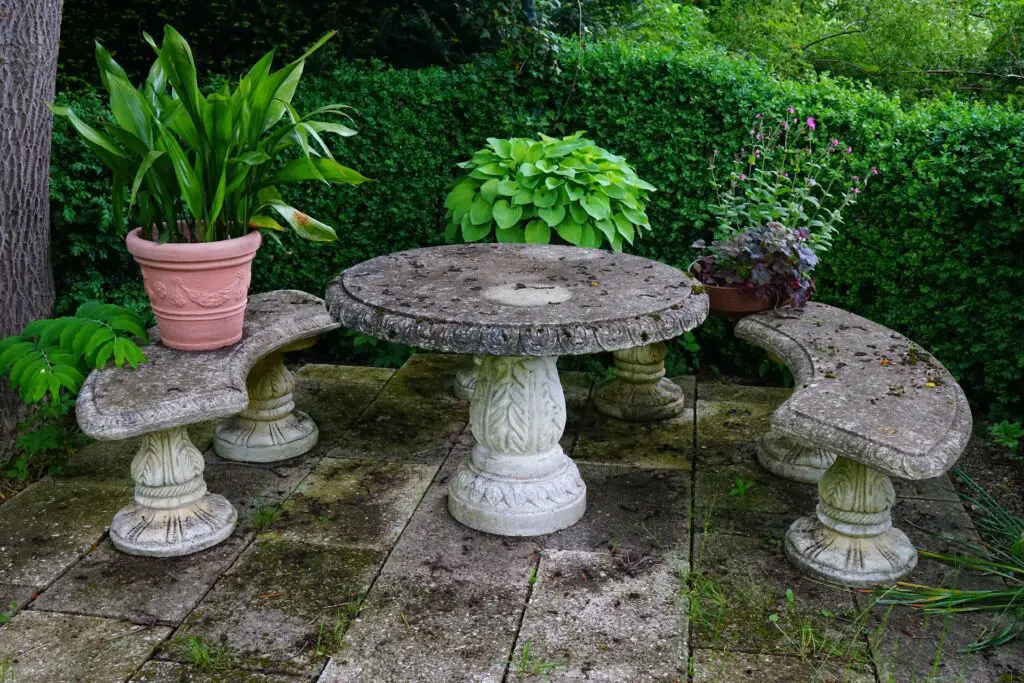
A sitting area decorated with beautiful rocks will always look inviting. You can start by lining the surrounding pathway with flagstones.
Of course, you should always consider the plants first. Plants with matching hues to the rocks will provide harmony.
To distinguish between the garden seating area and the rest of the garden, put together a variety of irregularly shaped stones on the ground. Lighter colors and bigger sizes will be easier to piece together and will look more lively.
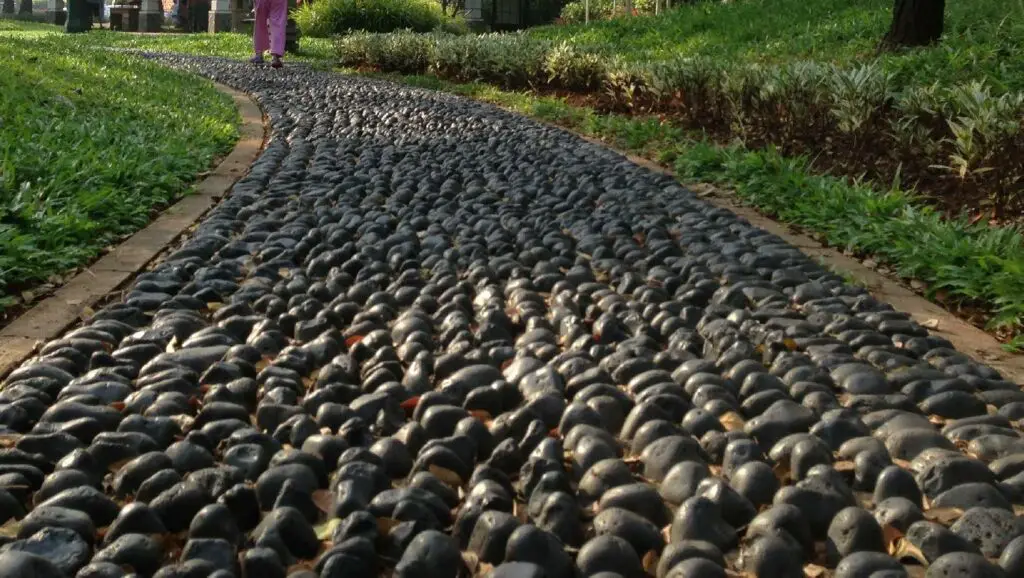
Walkways with Stones
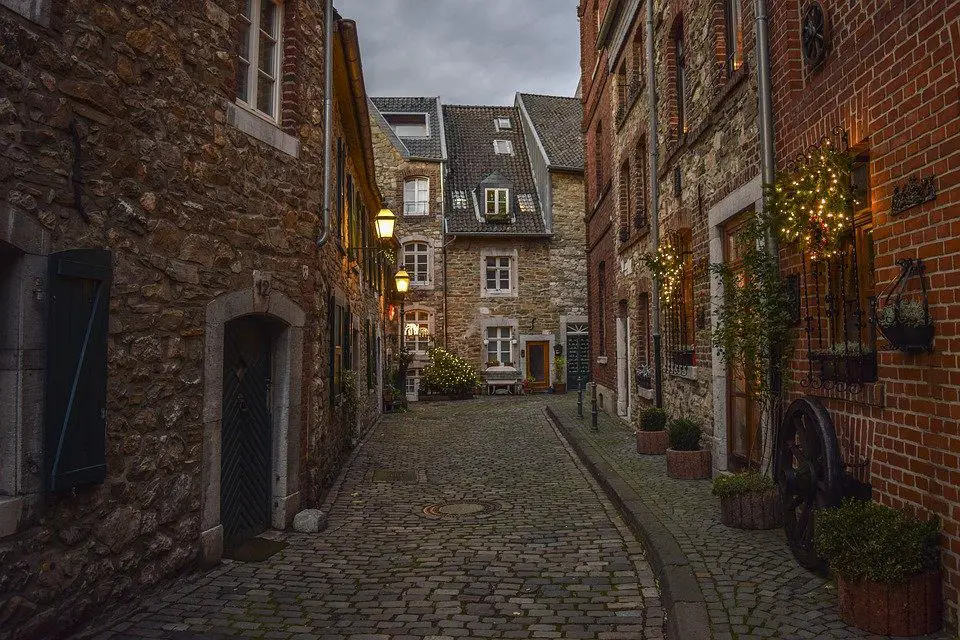
Do you want your yard to have a vintage vibe to it that harkens back to the streets of old Italy? Your best option would be to place cobblestone on walkways. These are rectangle-shaped blocks of natural stone with a surface that is mostly cracked.
You may even go for granite that is structured like cobblestone! Either way, you’re getting extremely long-lasting materials.
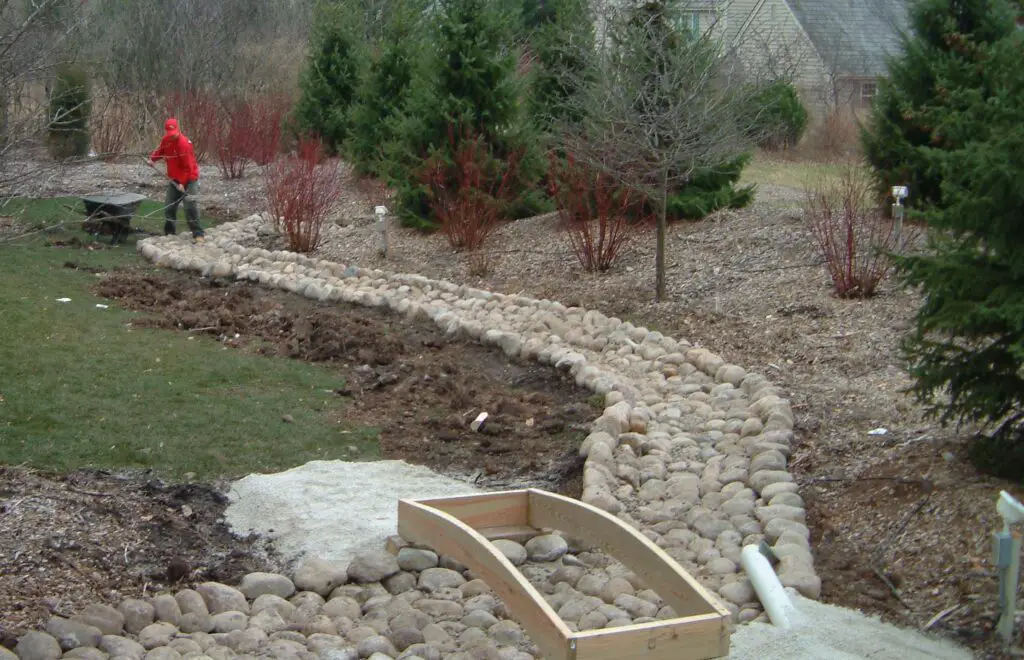
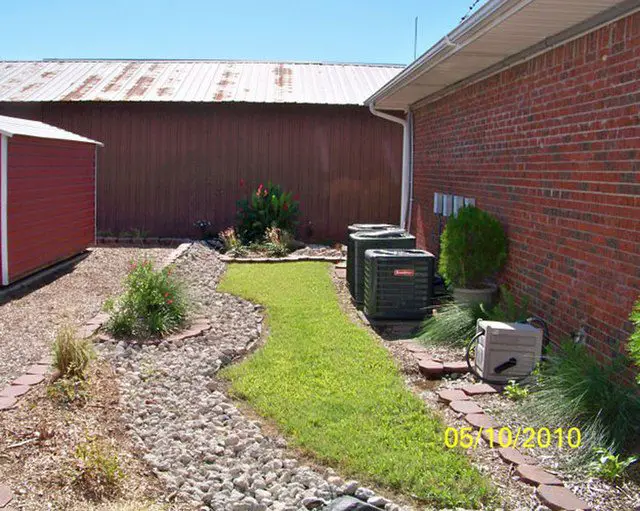
Dry Riverbed Landscaping
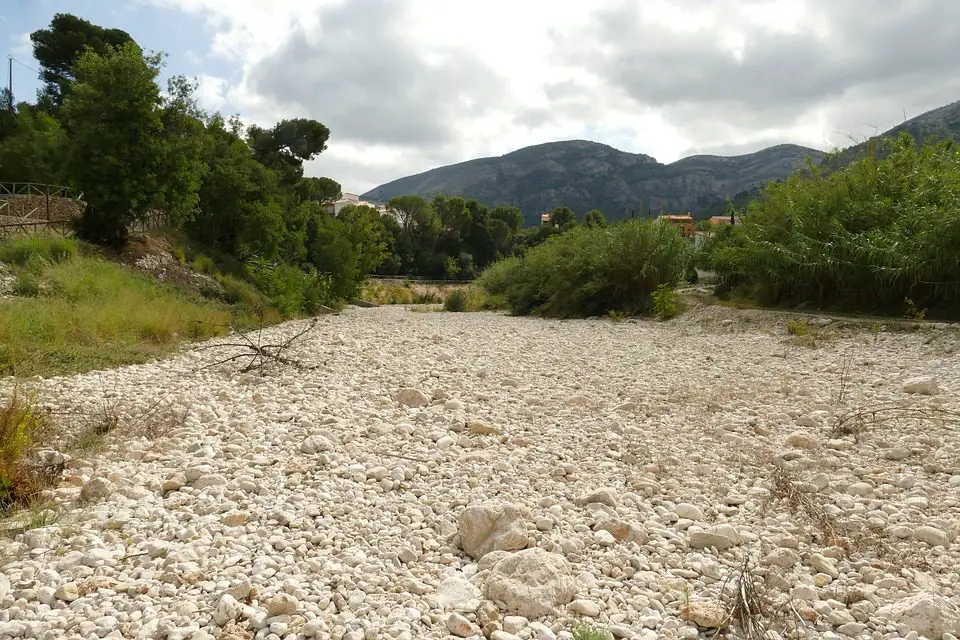
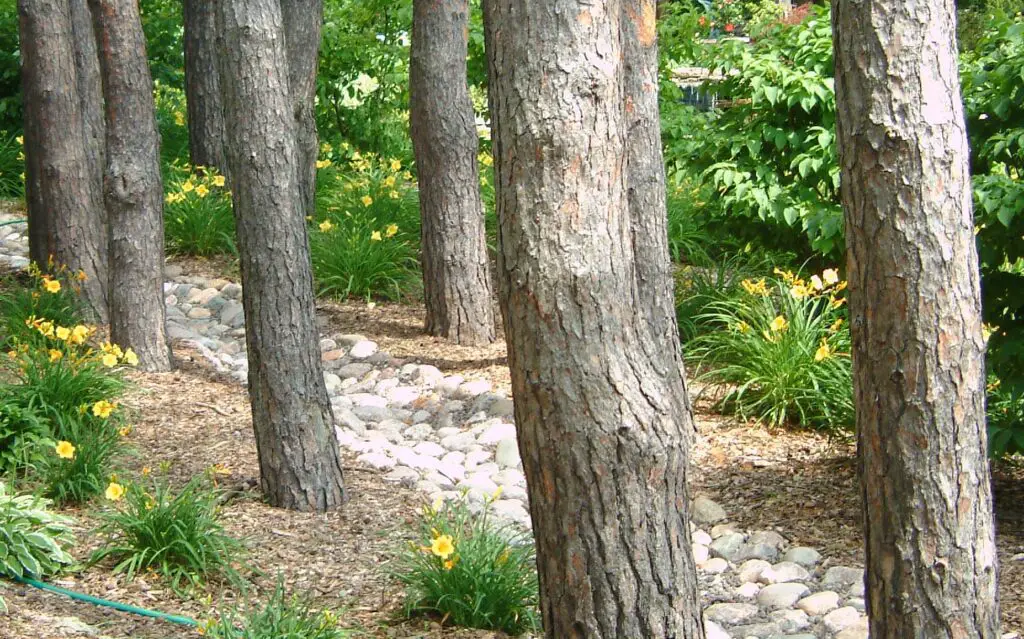
Why do people choose to landscape with dry riverbeds? It’s because they reduce ruts in the grass by preventing drainage problems.
They also contribute to your well-being.
So if you’re looking for a quick way to enhance a dull space in the landscape and help control storm water flow, maybe try it!
Water Features with Rocks
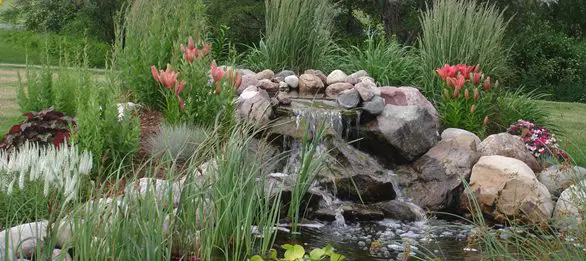
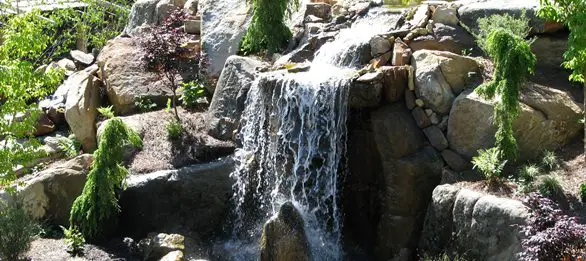
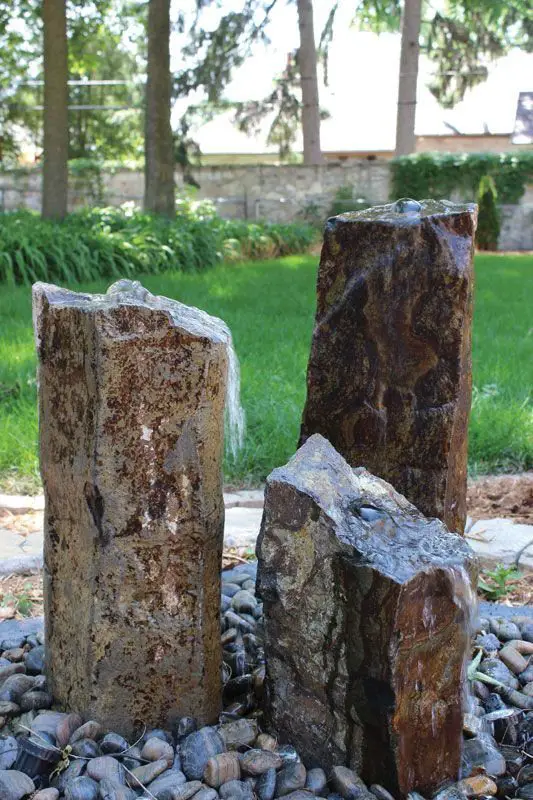

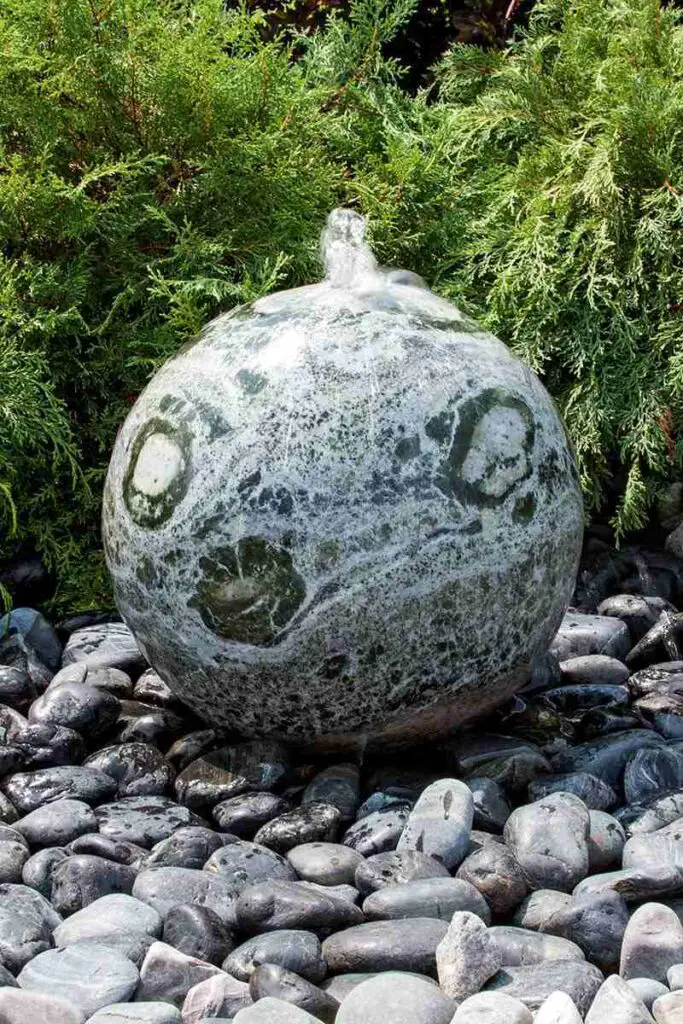
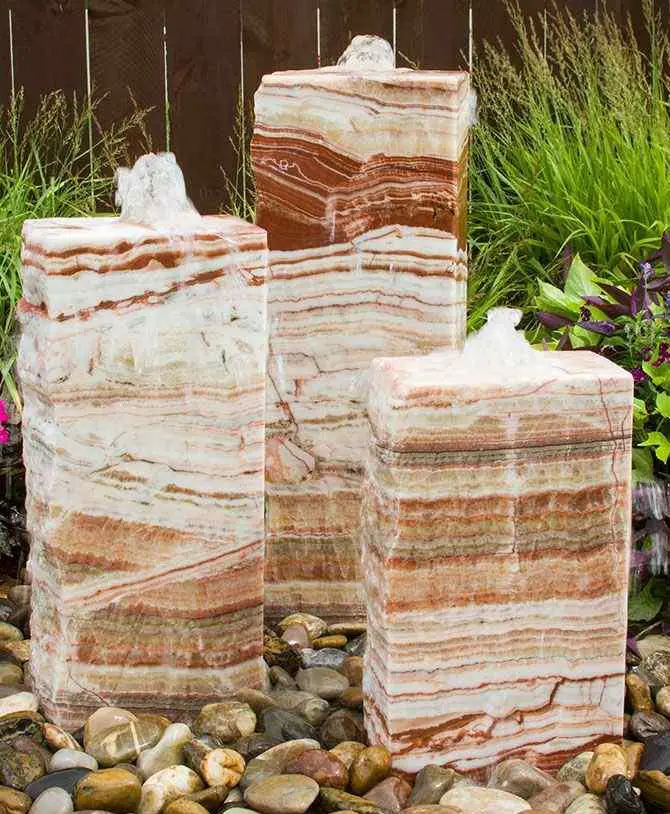
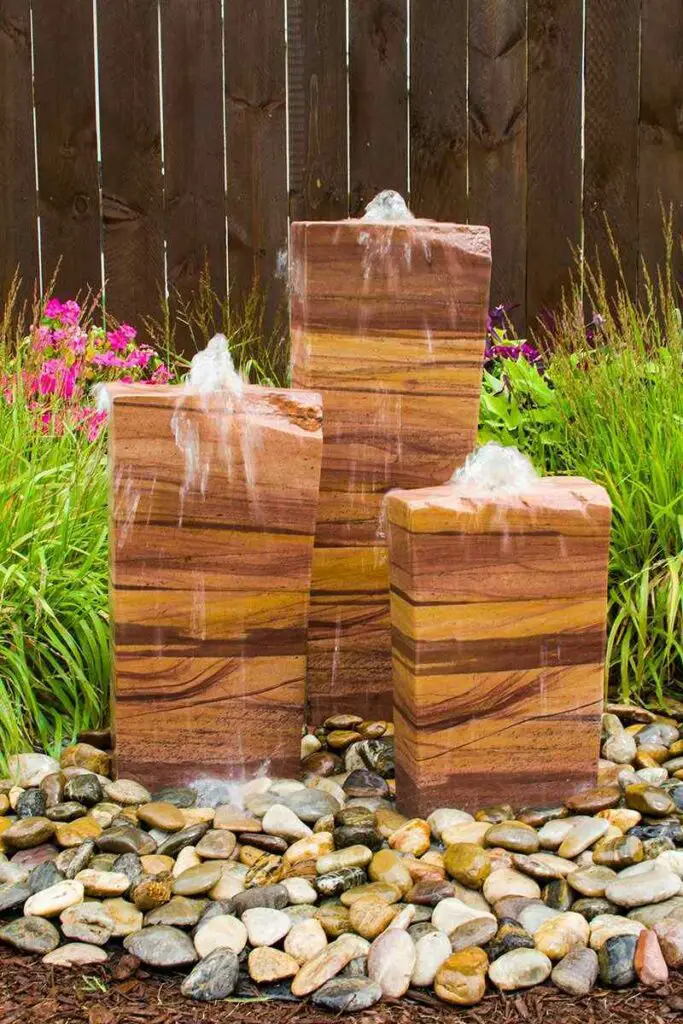
There are a million ways to design your water features with landscaping rocks! If you’re wondering where to start, you can always build a rock waterfall in your garden.
You can also make a bubbling rock water feature—the sparkle of water combined with the natural beauty of the rocks will always look delightful.
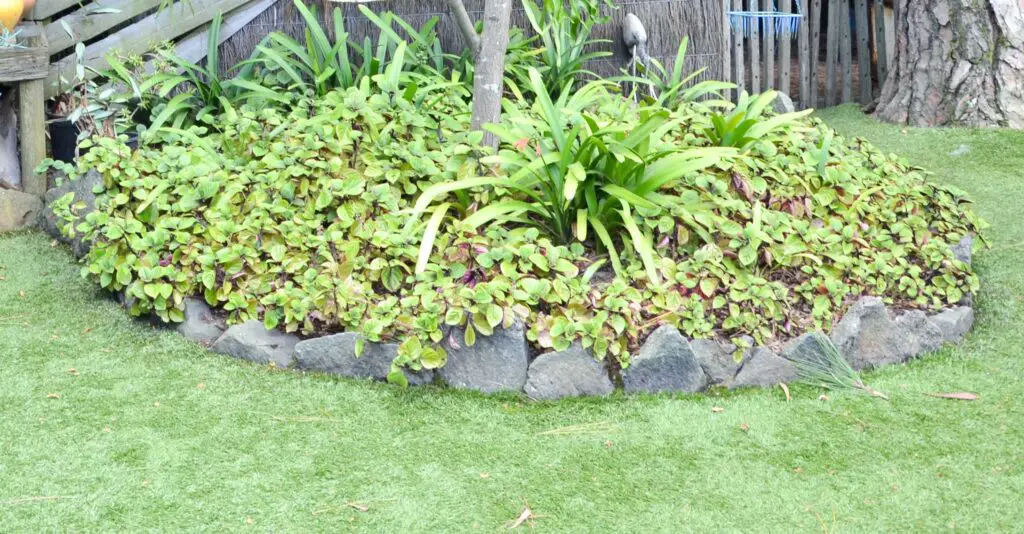
Edging Using Boulders

Boulders placed as edging can liven up your landscape and add more detail to it. Edging with boulders can elevate the appearance of your outdoor environment.
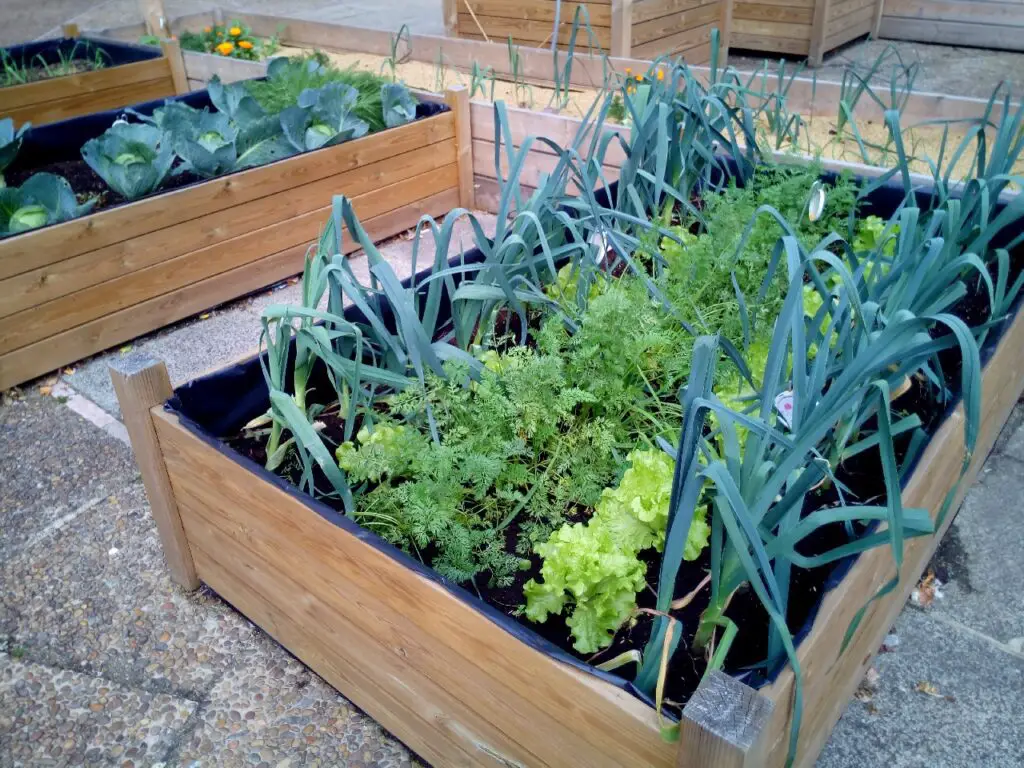
Surround the Edible Garden
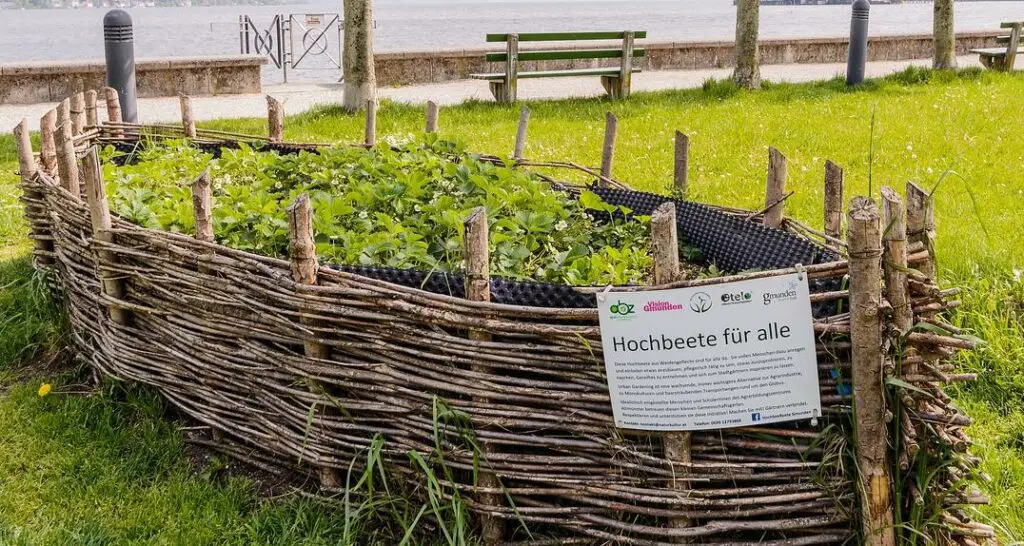
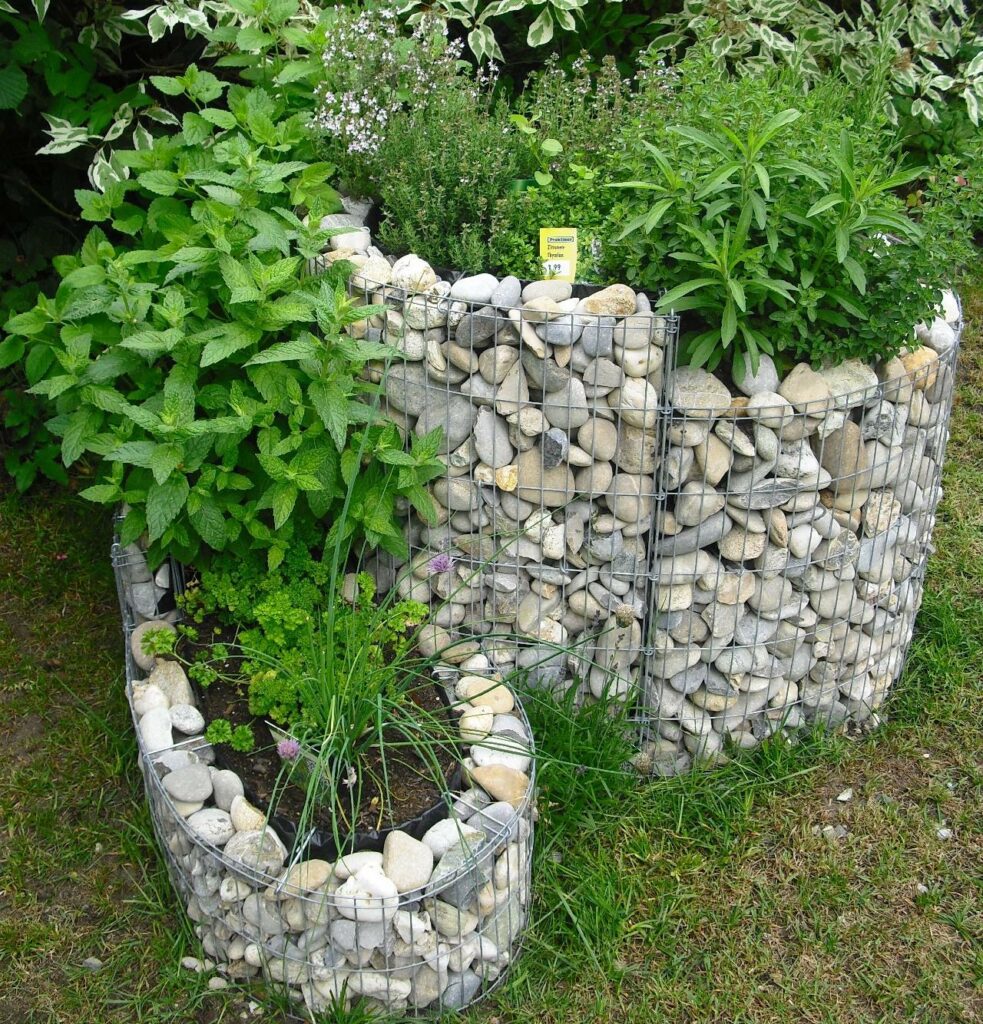
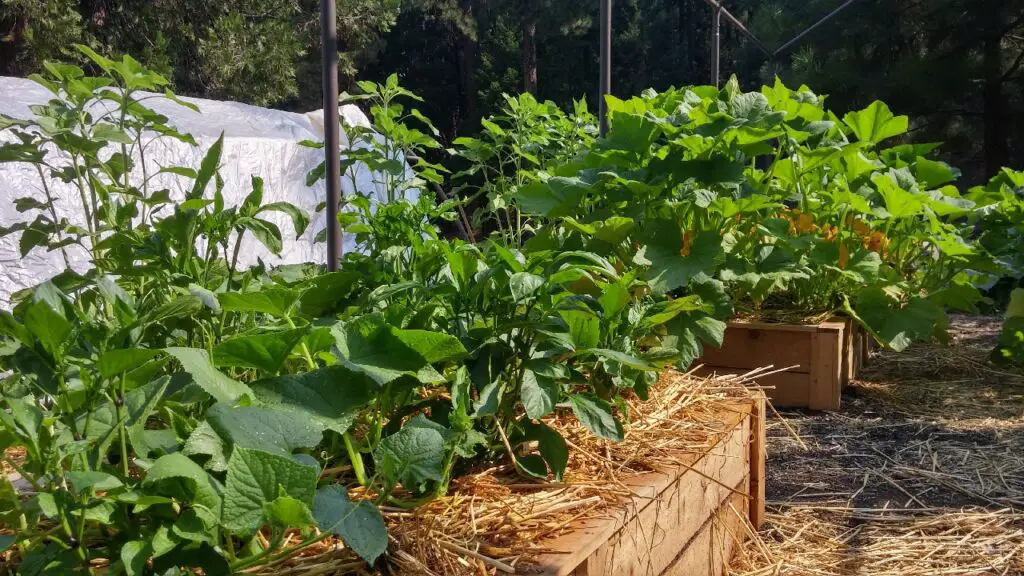
Raised beds that house your essential edible crops can use a little style around the edges. And there’s no better way to do that than to lay uniformly sized stones along the perimeter! It’s certainly a nice approach if you want to add depth to your veggie garden.
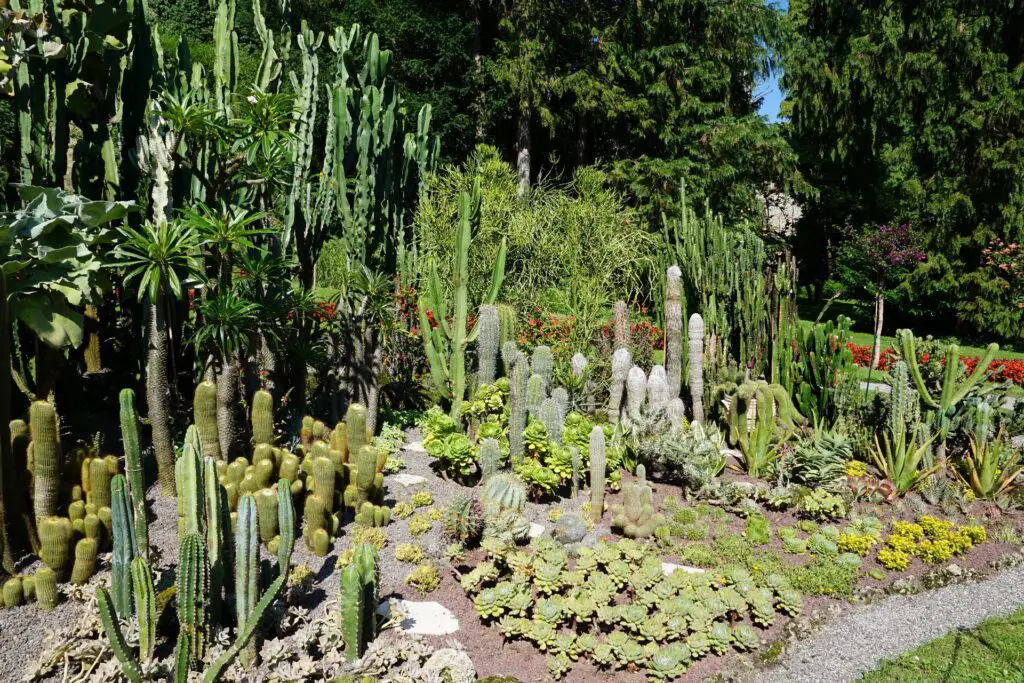
Rustic Rock Garden
A rock garden might help you save up on maintenance costs. Quite often, a densely laid out and planted rock garden will fend off most weeds, so it’s a nice way to add some low maintenance interest to your yard. Rock gardens can be of any size and shape. The beauty of a rock garden is more about the various heights and textures of the rocks when planted with low growing plants.
This style of garden almost looks like a mountain range viewed at a distance.
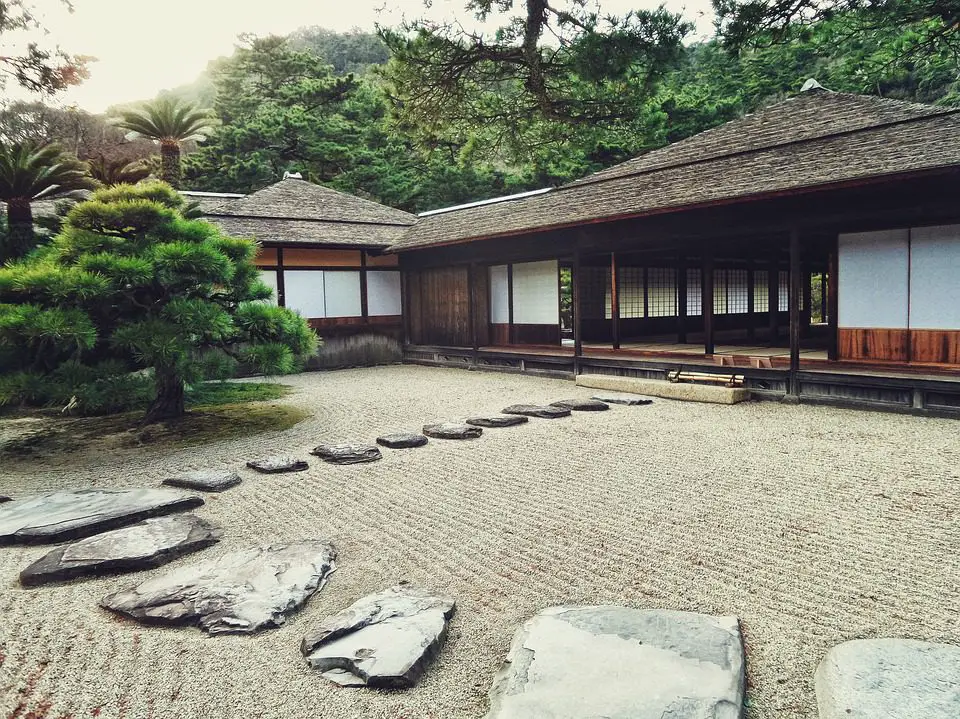
Zen Garden Landscaping
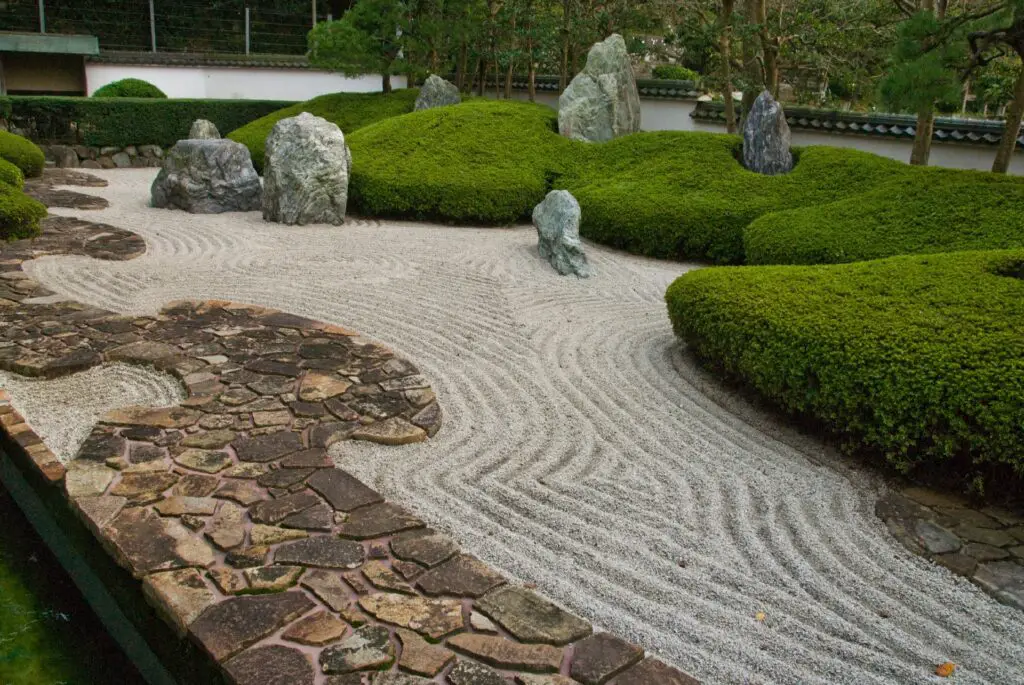
A Zen Garden can just be your ultimate place of relaxation. You can calm down for a bit and spend time with nature when you feel stressed.
You should arrange rocks in odd-numbered groups. For instance, get three stones of the same kind, but in different sizes. You can put them in a triangle arrangement. Bam! You now have an interesting detail to your Zen garden.
To explain: three-rock clusters were once utilized to represent the Buddhist trinity.
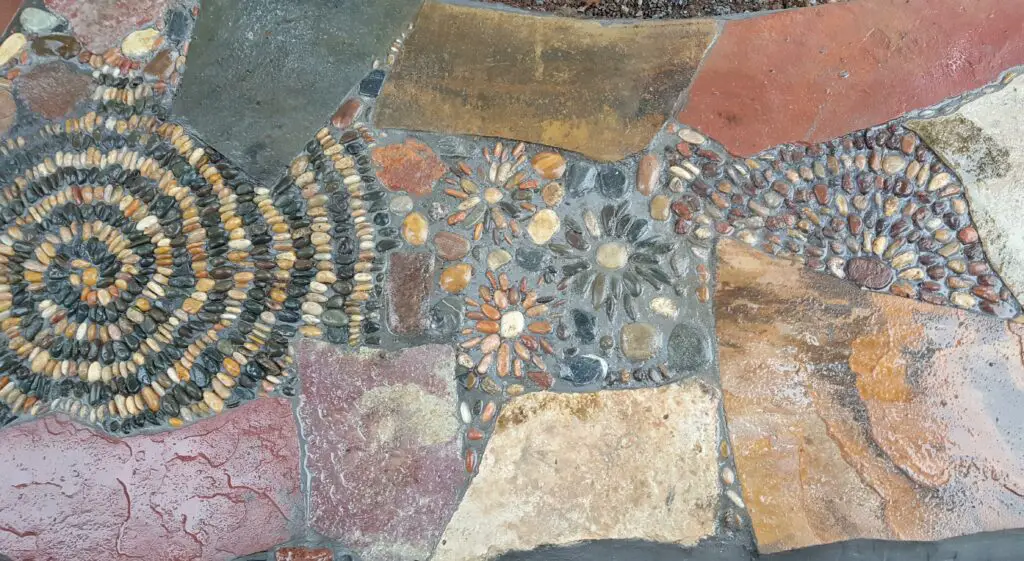
Create a Mosaic Walkway
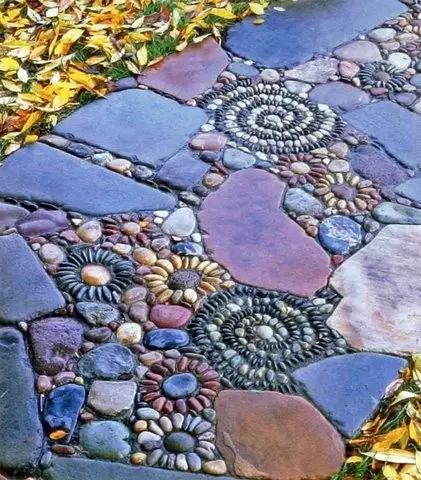
Mosaic walkways are a labor of love and only really used in smaller backyard settings due to their intricacy and the time it takes to install them.
They can be installed over a gravel base, or even on the bare ground in areas that don’t freeze, but in areas with freezing temperatures, you will need to set these stones in mortar over a poured concrete base.
You can use almost any type of stone. The trick is to make it creative and find colors and textures that compliment each other.
Alpine Rock Garden
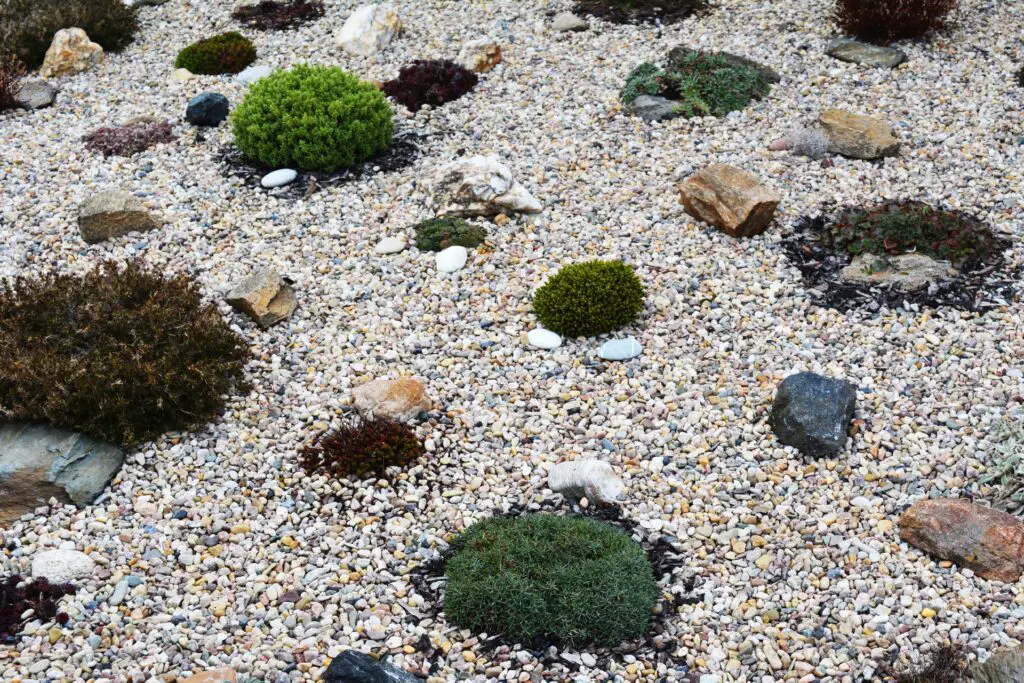
Alpine plants are those that grow in mountain terrain. Water is used sparingly in rocky alpine gardening, which is nice if you’re into low-maintenance, easy landscaping. And the best thing is the rockery will last for a long time.
To give you an idea: colored gravel should be strewn around the bigger rocks. This creates a nice touch, so play around with different textures and sizes to add variety.
English Rock Garden
Probably the oldest rock garden was created in Orford, England, around 1767.
Having an English rock garden means mixing elaborate rockwork and beautiful shrubbery. This will give you a lovely, peaceful space in the landscape.
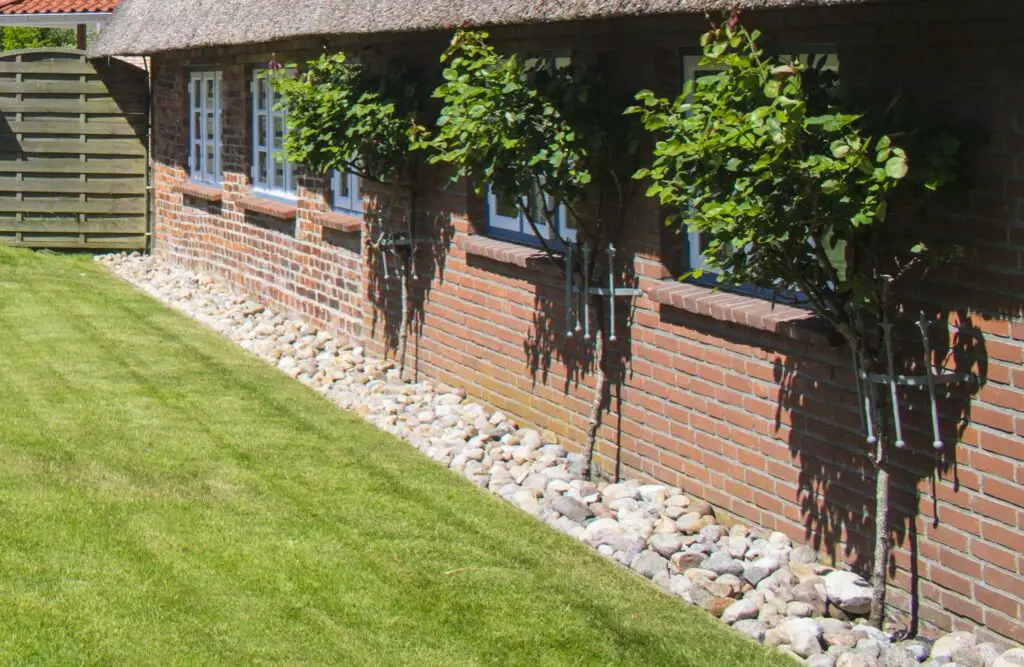
Use it as Bed Cover
Using any type of rock as a bed cover has become a popular way to cut down on yard maintenance. Be sure to install a top quality landscape fabric under the rock to be sure the weeds aren’t going to jump up in between the rocks.
Frequently Asked Questions About Landscaping Rocks
- What is the least expensive landscaping rock? – It varies by region, but crushed gravel, pea gravel, and decomposed granite are usually the cheapest. Pea gravel is tiny and lightweight, and purchasing by the pound will provide more coverage. Meanwhile, keep in mind that rarer colors of decomposed granite will cost more.
- What kind of rocks are landscape rocks? – The most common rocks used for the landscape are granite, pea gravel, river rock, lava rock, and flagstone.
- What type of rock is ideal for flower beds? – Lava rock is highly regarded among property owners as an excellent substitute for mulch in flower gardens. These irregular red chunks of rock are kind of pricey, but they’re great to have in your landscape.
- Do rocks attract termites? – There’s always a possibility for termite infestations to occur when rocks are present in outdoor spaces. Termites are drawn to moisture. Therefore if the soil close to the rocks is frequently damp, that spot will have a higher chance of infestation.
REFERENCES
www.usbg.gov/sites/default/files/images/mulch_science_page.pdf
https://ucanr.edu/blogs/blogcore/postdetail.cfm?postnum=14317
https://www.sciencelearn.org.nz/resources/472-limestone-uses
https://www.usgs.gov/faqs/what-are-igneous-rocks?qt-news_science_products=0#qt-news_science_products
https://www.researchgate.net/profile/James-Morris-21
https://bryophytes.science.oregonstate.edu/page25.htm
https://www.science.org.au/curious/earth-environment/sea-shells
https://doi.org/10.1111/raq.12225
dx.doi.org/10.1016/j.wasman.2007.12.005
https://doi.org/10.1007/s13593-017-0450-x
https://www.sciencedirect.com/science/article/abs/pii/S2352710220337001
https://stormwater.pca.state.mn.us/index.php?title=Erosion_prevention_practices_-_Riprap
https://www.sciencedirect.com/book/9780128111918/geology-and-landscape-evolution
https://www.usgs.gov/news/earthword-scour
https://doi.org/10.1016/B978-0-12-812726-1.00008-5
https://books.google.com.ph/books?vid=ISBN978-0922152896
https://www.sciencedirect.com/science/article/pii/S2212041621000656
https://getd.libs.uga.edu/pdfs/lee_yoon_j_200505_mla.pdf
https://www.jstor.org/stable/1390452