

Patios, pathways, gardens, and other landscape components may all benefit from the installation of stone landscape edging. It may be used on its own or as a companion to walls and pavers. Stone borders last a long time, are low-maintenance and are a wonderful addition to your gardens and landscape.
Table of Contents
Overview of Stone Landscape Edging
Edging stones are simple to set up, but there is a proper method to do it. Simply setting stones on the existing ground will result in an uneven and unstable edge that will move out of place over time.
We will show you how to avoid these issues by properly preparing for and installing your stone.
Different people in different areas of the world will picture an entirely different edge when you say stone landscape edging. Many of the differences will be due to local differences in the easily available stone. Historically, people used whatever stone was native to their area. Now we have access to stone from around the world, so you have many choices.
The techniques in this article can be applied to any type of stone, brick or concrete paver, just be aware that the more that your chosen stone is in the shape of a square or rectangular block, the smoother and more formal your edging can be.
We prefer to create stone landscape edging using granite cobbles like these below.
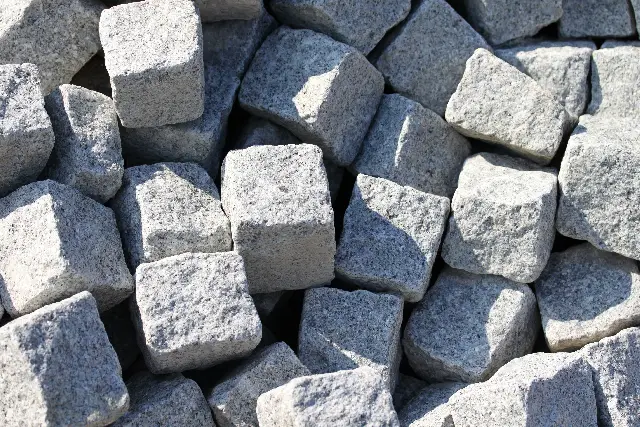
The color of your stones is not important to the installation, but the shape and composition are important.
Square or rectangular pieces are the easiest to work with and will result in the most uniform edge, but any shape can be used as long as it fulfills your needs.
If you live in a freezing zone like we do, it is vital that you choose a hard stone that will not crack over the winter. Using a sandstone in our area would result in the edging breaking apart and crumbling after a few years. Edging stone is partially buried in the ground, so it will absorb moisture and crack when it freezes if it is a porous stone.
Keep in mind that the size of stone that you choose will greatly affect your project. Larger stones have the advantage of moving less, simply due to their weight. The downside to using larger stones is also their weight. Larger stones are heavier to carry around your yard and since stone is sold by the ton, they will cost you more.
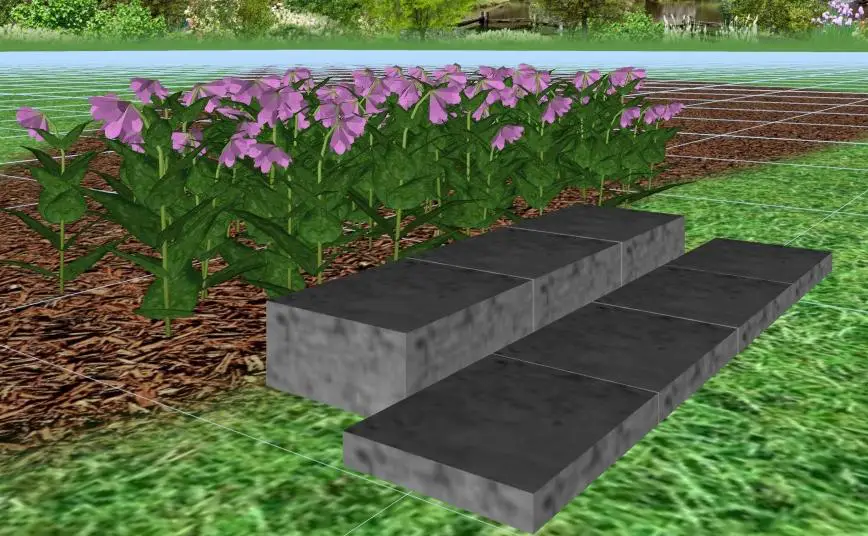
Most of the stone edging in our area is installed using 4 – 6 inch cubes or 4×6, 6×8 or 6×10 inch rectangular blocks.
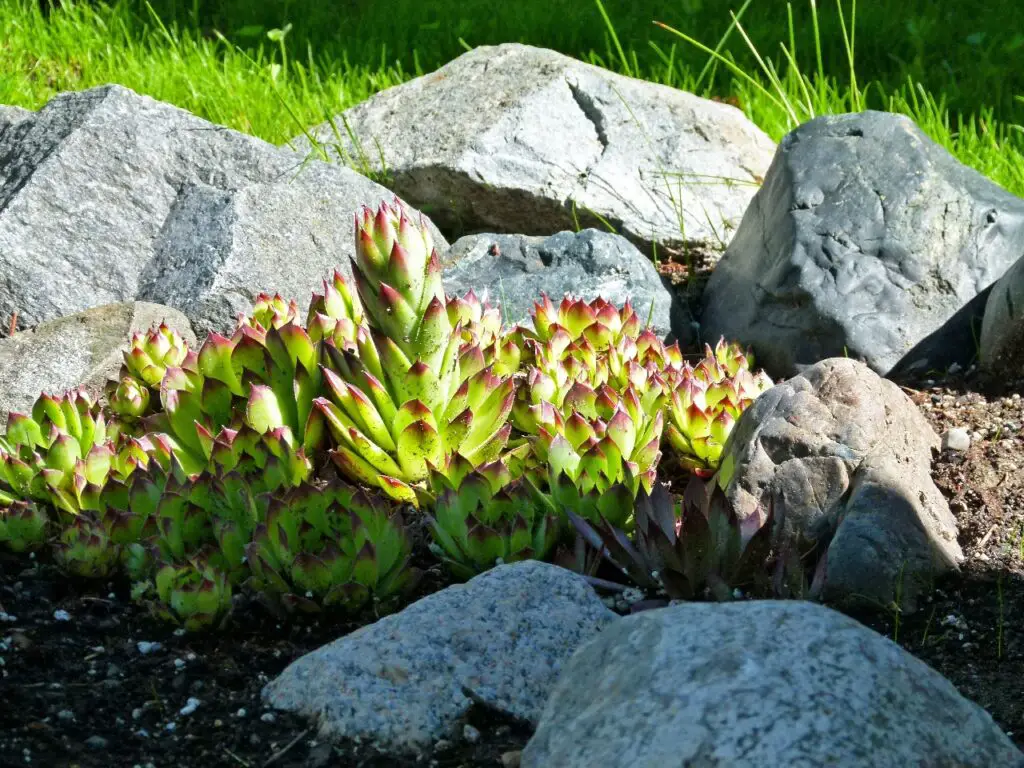
We have certainly seen and installed plenty of natural boulder edges using the random shaped natural rocks similar to the picture below, but this is a much less formal installation that typically doesn’t require any sort of extensive prep due to the random shape and sizes of the stone.
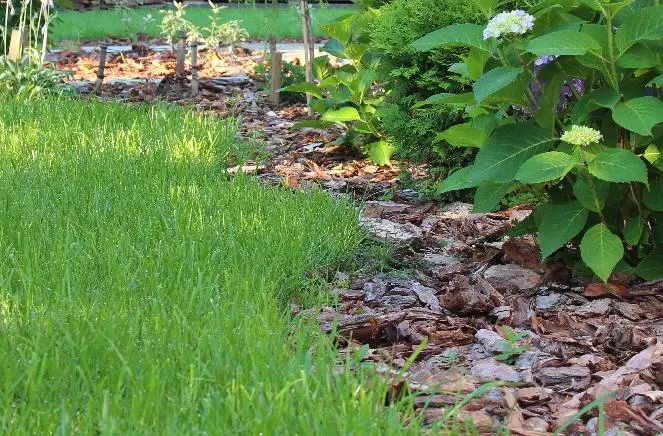
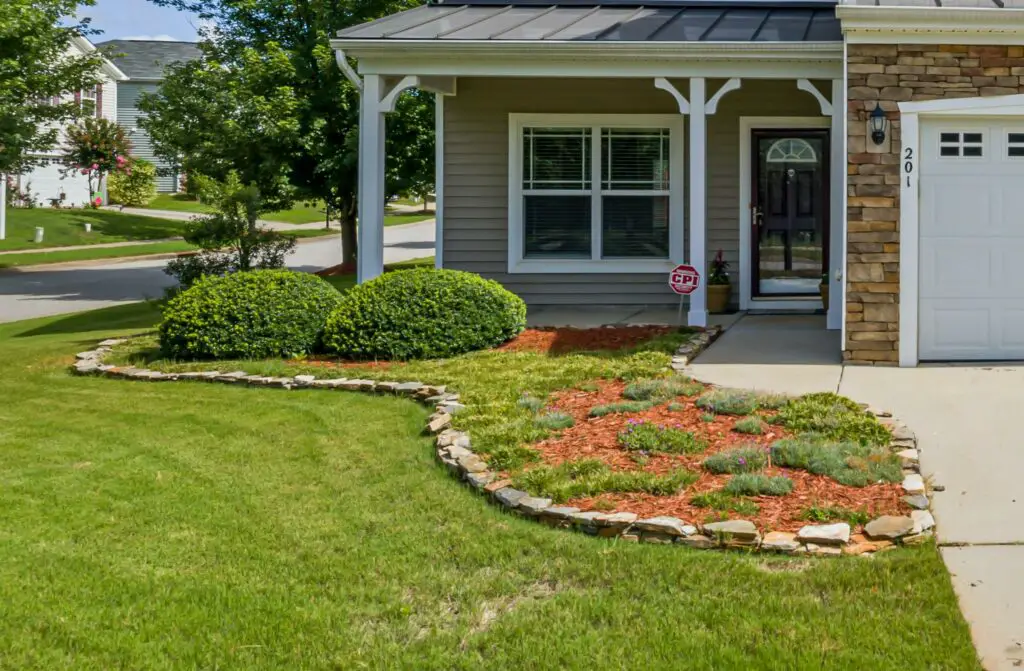
One of the downsides to any stone edging that borders turf grass is that it will require you to use a string trimmer to cut down the grass that borders it in order to get a clean look. One way to avoid this is to install the edge low enough to cut over with the mower, or to make it a double edge with one low to cut over and one raised to hold back mulch or bedding materials like in the example below.
Before you dig, be sure to have all buried utilities marked on your property. Also, since your edging may span the entire yard, it is important to know where any private irrigation or electrical wires are buried.
Border Installation
No matter what type of stone you choose to use or whether it is a two stone edge or single stone, the installation process is the same. If you follow the steps below, you are sure to have a high quality stone edge installation when you finish.
Plan out The Edge
If you are taking on the task of installing stone edging in your yard, you need to decide exactly where you want it to be, because you don’t want to do this twice.
Stone landscape edging can be used to edge any of the following:
- Walkways
- Driveways
- Planting beds
- Lawns
Walk through your yard and determine where you want or need the edging. The vast majority of stone landscape edging that we have seen is in a transition area, where the height of the ground transitions from one height to the next. Most often, we see it used along a walkway or along the lawn where the lower lawn surface meets a higher planting bed.
A stone landscape edge raised up a few inches can really help to define your edges and to keep the soil or mulch where it belongs, rather than out on your sidewalk or grass.
If your stone edging will be along a walkway, you don’t need to mark it out as it will just follow the edge of the walk.
If your edge will follow the edge of the lawn, you will want to paint it out in nice flowing curves, using a paint wand. Make sure that you make nice flowing curves that have a reason to be there, and not just wavy lines for no reason. Quite often, the difference between professional looking edges and homeowner edges is the smoothness and length of the curves. You should never have quick abrupt curves, they look unnatural.
The secret to making nice smooth lines using a paint wand is to walk your curve rather swiftly while painting a dotted line so that you can easily change it if you want. With a bit of practice, you will be painting curves like a pro. Once the curves are all painted, walk the yard and think about how and where each curve will end and how the yard will look with the new edging.
Now is the time to make changes, like I said before, this is alot of work, you want to get it done correctly the first time.
Dig a Trench
To prepare to set your stone edge, you will first want to dig a trench along your painted bed lines so that your stone edging will sit level and the top edge of the stones will all line up with each other and look nice and smooth. Only dig as deeply as you need to. Over excavating will only be more work and will leave soft ground below the stones which will cause them to move more over time. I would probably use an edging shovel to get nice clean lines and a flat bottomed trench.
The width and depth of your trench will depend on the size of your stone. You should have the stone on site before you begin any digging. Lay the stone out right on the lawn in one area so that you can get a feel for how well it will fit together and how deeply you may want to cut it into the ground. You may want to do a rough layout on your tightest curve to see how the stones will fit together in the curve. It is easy to smooth the curve out a bit before you begin digging. Make the trench a few inches wider than your stone to make setting curves easier.
I would recommend placing your excavations into a wheelbarrow for the time being so that you don’t get a bunch of dirt stepped down into your grass. Keeping it in the wheelbarrow will allow you to use what you need to backfill along the stone once your curve is right. It will also make it easy to haul it to a low spot in your yard if you have extra fill to get rid of.
One of the secrets of doing a professional job, is to minimize the amount of work by minimizing the amount of mess that you make. Dumping your excavations in the grass. walking all over them and then needing to rake them all out, is definitely extra work that doesn’t need to be done.
Keep in mind that if your stone is rectangular in shape, you can always stand it up tall if you need to hold back higher ground. The reason for digging the trench is to give yourself a smooth base to work with and to help lock the stone into the ground. This is always a compromise. You want the stone set high enough to hold back the ground behind it, yet deep enough to tie it in well.
If it is tough to get the bottom of your trench smooth, you may want to use a bit of sand or fine gravel to make smoothing it out easier. Remember, we aren’t necessarily leveling this edging, we simply need it ot flow smoothly with the contours of the lawn in front of it. It is a good idea to use a hand tamp or a sledge hammer to compact the base where the stone will be set. A firm base will result in less settling.
If you are setting your stone landscape edge along any hard surface walkway or patio, there is a good chance that you will find some sort of plastic, metal or mortar edge holding the brick or stone of the walkway in place. Because you will be setting your new stone edging right along the edge of the walkway, your new stones will serve to hold the walkway in place, so you should be okay removing the old edging.
Position the Stones
Line up your edging stones in the trench, setting them tightly together. You will likely want to use a rubber or wooden mallet to tap the stones in place to be sure that they are set firmly. Start at the most visible end or corner of the area so that any edgers that need to be cut are at the far end where no one will see them.
Set the stones all the way from one end to the other and then stand back and look at your curve from several angles. Stand far across the lawn also and look at the edging from a distance. This will help you to see any height inconsistencies. Chances are that you will need to make some curve and height adjustments to make it look right. Another secret of doing a professional job is to always check and recheck your work so that when your client looks at it, there are no mistakes to see and no changes to make.
Don’t be afraid to make some minor adjustments and look at it again. Many people try to hurry though their landscape work, just to get it done, but this stone will be here for a very long time, so you want it to look nice. On the other hand, we are setting stone edging into dirt, so it is going to move over time. If you live in an area where the ground freezes, the stones will heave with the freezing ground, but they should go back into place as the ground thaws.
My point is that you should make it nice, but it doesn’t need to be perfect, because nature is going to move it around a bit over time. What is important is that when you walk through the yard, it looks good.
If Necessary, Cut the Stones
I would work my way to the end of one edge and then cut the stone if necessary to complete that edge. I think it is best to complete one area before moving on to the next for a few reasons.
- The first reason is that you may run out of time to finish the entire project in one day and it will be better to have only one area torn apart at a time incase it rains.
- The second reason is that working through the entire process end to end on one section may give you some ideas on how to streamline your process for the next section. Professionals are always looking for ways to improve their process.
- The third reason is that it will allow you to clear a bunch of excavated dirt out of your wheelbarrow by backfilling the stones which will make room for the excavations from the next trench.
I would not cut stones to make curves, I would simply fit them as tightly as possible. Gaps at one edge to make a curve won’t be a problem and will look just fine.
There are several ways that you can cut stone. (always wear safety glasses whenever you are cutting stone.)
Old School
The old school and economical method is to use a chisel and heavy hammer. I would use a pencil and a straight edge to roughly mark both side of the stone where it should be cut.
Lay the stone down on a fairly solid surface such as a heavy piece of wood. Make sure that the stone piece is flat and solid and set your chisel blade on the line with the angled edge facing away from the piece you are keeping. Strike to chisel firmly and squarely and then move it a few inches one way or the other and strike it again. Go back and forth several times on each side of the stone equally.
This will take some time, don’t expect or even try to get it to break quickly. You are trying to create a crack in the stone so that it breaks evenly. Even and consistent strikes on each side will get the job done. Don’t be surprised if some of the stones just don’t break the way you want them to. You shoul dhave afew extra stones so that you can try again.
Rent a Saw
If old school isn’t your style, or if yu have many cuts to make, you can rent a diamond blade saw to cut the stones. Call up or go to your local equipment rental store and tell them what you are cutting. They will be able to guide you to the right saw and blade to rent. Did you know that diamond is the hardest naturally occurring mineral? These diamond blade saws let you cut through stone with minimal dust and without overheating the blade. When working with saws, always eye protection and be careful not to cut yourself.
If you are considering a sizeable job or maybe multiple jobs, click Here to see an electric version of the one I use.
Complete the Job
Now that all of your stones are in a beautiful, smooth curve and they are all at the correct height, it is time to backfill. Use the dirt from your wheelbarrow to fill in any voids in front of and behind your new stone edging. Take the e time to pack it in nicely and be sure to backfill the low side first to help keep the stone in place when you backfill the high side. If your high side is a mulched bed, it is a good idea to cover the bare dirt an that side bit a bit of mulch to help it all blend in.
Finally, take a step back and enjoy your accomplishments! Installing beautiful stone, cement, or paver edging around your planting beds helps keep your grass and mulch in place while also giving your beds a distinct, clean appearance. With just a little bit of patience and a bunch of hard work, you’ll have great curb appeal.